17th Dalkey Scouts
I’m helping getting the 17th Dalkey Scouts back up and running. Initially for Beavers and Cubs but we’ll get to Scouts as well in a year or two! Check out www.dalkeyscouts.ie and https://www.facebook.com/17thDalkey for more!
I’m helping getting the 17th Dalkey Scouts back up and running. Initially for Beavers and Cubs but we’ll get to Scouts as well in a year or two! Check out www.dalkeyscouts.ie and https://www.facebook.com/17thDalkey for more!
Choosing a map for an adventure is easy right? The standard map for hiking for many years has been the Ordnance Survey 1:50000 set of waterproof laminated maps which retail for about €25. More recently, though the company has apparently been inexistance for over 30 years, EastWest mapping have produced €9.99 maps of specific areas
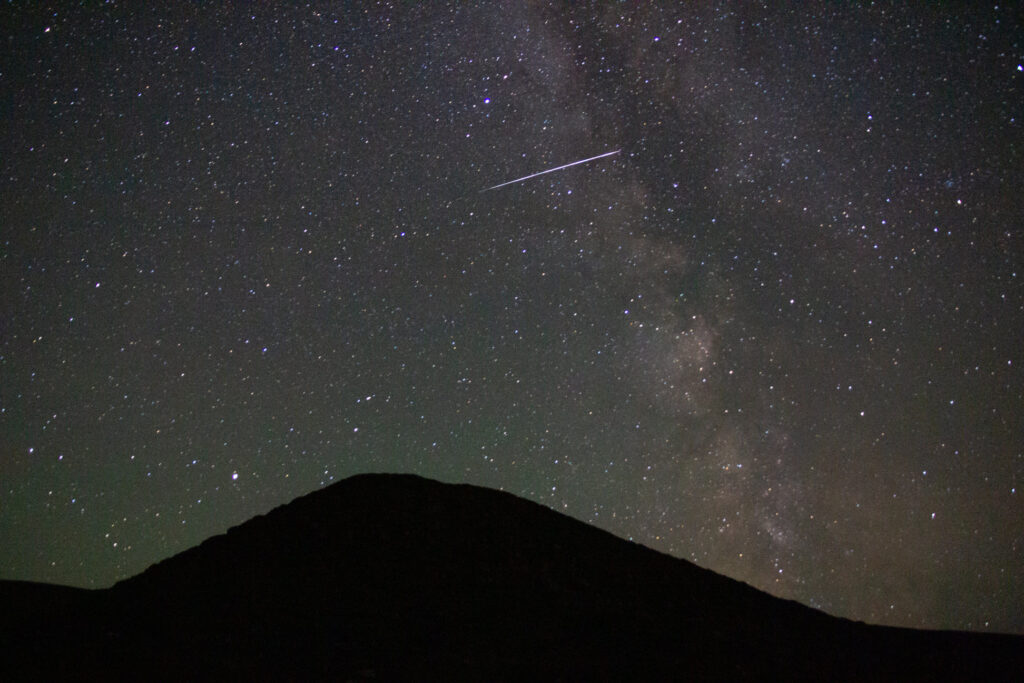
How to take good astrophotography photos: Go to Kerry International Dark Sky Reserve Wander outside at night and take a photo with your camera.
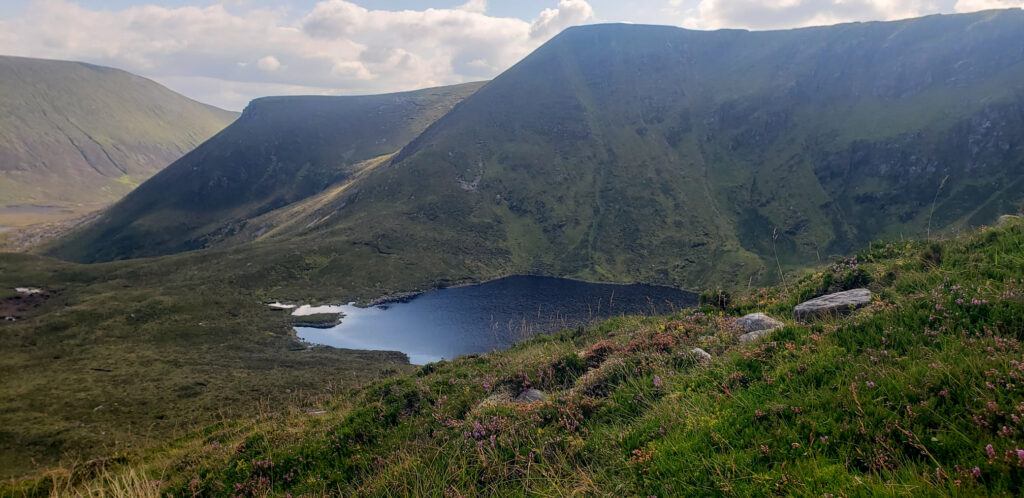
Ever since I first got interested in Summits On the Air, one mountain in the west of Ireland has been calling me. In the Nephin range in Co. Mayo lies Slieve Carr. At 721m it is not even in the top 40 highest mountains in Ireland, but as it is often referred to as ‘the