This page describes the building process for Z72 originally posted as blog entries.
June 16, 2012
About 10 years ago I decided to build an observatory. I’m finally getting around to doing it. My reasoning for building it has changed down the years. Initially I wanted to build it in order to have a serious imaging and research setup, now I want it for convenience. I want a setup that I will use – far too many good nights are wasted by not taking the scope out because I don’t have enough time, or it’s just too inconvenient to set up properly. Any of you that own a telescope, particularly something over 200mm will know that a certain level of dedication is required to take it out every night. In my case I have to go to my mothers where my scopes are, set up on the patio, align and start observing. That takes about 15 minutes. However large scopes are not ready to use right away for any serious observing, they need to cool down. Looking through a scope that has not cooled is a bit like heat shimmer particularly at high magnifications. The cool down can take a couple of hours. And then you probably need to tweak the collimation as carrying the scope out from the house and setting it up may have caused slight movements in the optical path. All in all it takes at least a couple of hours to get the scope to a condition where you can observe at high magnification to the scopes potential. This being Ireland, the clouds will have rolled in my then!
The solution is to have an observatory. The scope will cool down with the ambient temperature, and since it is fixed the collimation is unlikely to be far out. Setup should be just a matter of popping the roof, turning on the power, and aligning the scope.
The only site I have to build an observatory is in my Mothers garden. This is a less than ideal site being in suburban Dublin, with light pollution to the north, and buildings to the South. However there should be decent skies at over 30 degrees in the south and East. If I really want to catch the Southern faint fuzzies I can still take a scope into the Wicklow Mountains!
Heres the plan for the observatory:
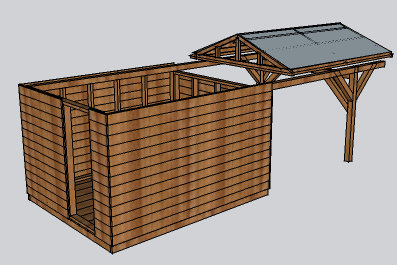
It’s a common enough design, commercial plans are even available from places like www.skyshed.com. It’s basically a garden shed with a roof that slides off. I’d looked at garden sheds and they were not up to the task, even the more expensive ones didn’t have the strength that I’d need. And would require work (or expense) to alter for the roll off roof. So I’m planning to build by own. Construction will mainly be 2×4’s, planking on the floor, shiplap on the walls, 4×4’s for the roof support. Sunk 2 feet at least below the surface will be a concrete base on which a steel pier made form box section will be added and finally the mount for the scope. So far it doesn’t look like much:
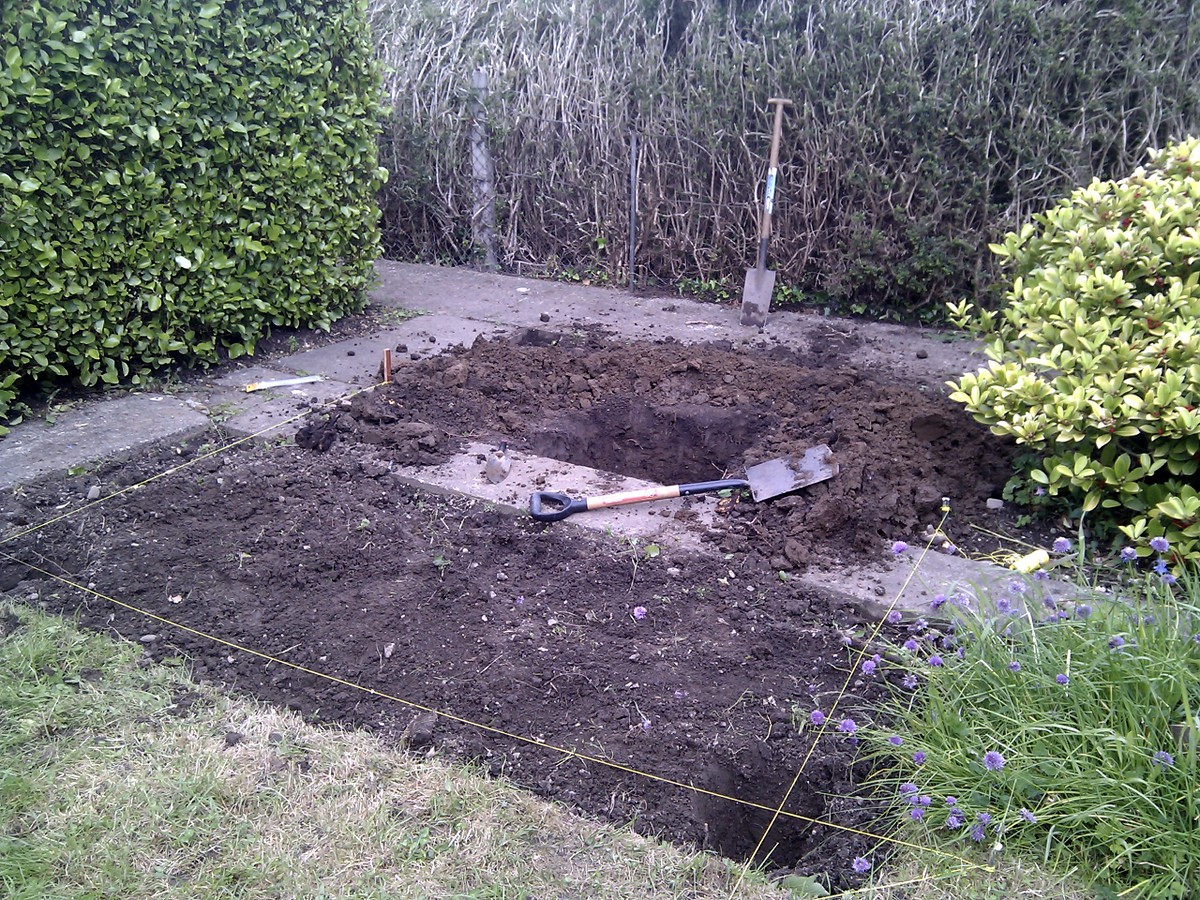
The ground has been cleared of the rhubarb that had been growing there for 30+ years – it’s now relocated out of shot. And the potatoes that were growing beside the chives are gone. The corners have been dug to allow foundation supports to be poured. I did that last weekend. The large hole in the middle will be the foundation for the mount. That will probably be the last thing to get done. I’ll get the observatory up as I can use a tripod mount in the meantime until I get the pier built.
Next up I have to work out exactly what wood and other bits and pieces I need, order it, and spend a good long weekend putting it up!
July 10, 2012
This summer has been uncharacteristically wet. And it wasn’t until last Saturday that I got to take the wood out from under the tarpaulin and start working. The first thing to do was to get the floor joists in place. The longest part of that was ensuring the 2×4 frame was level.
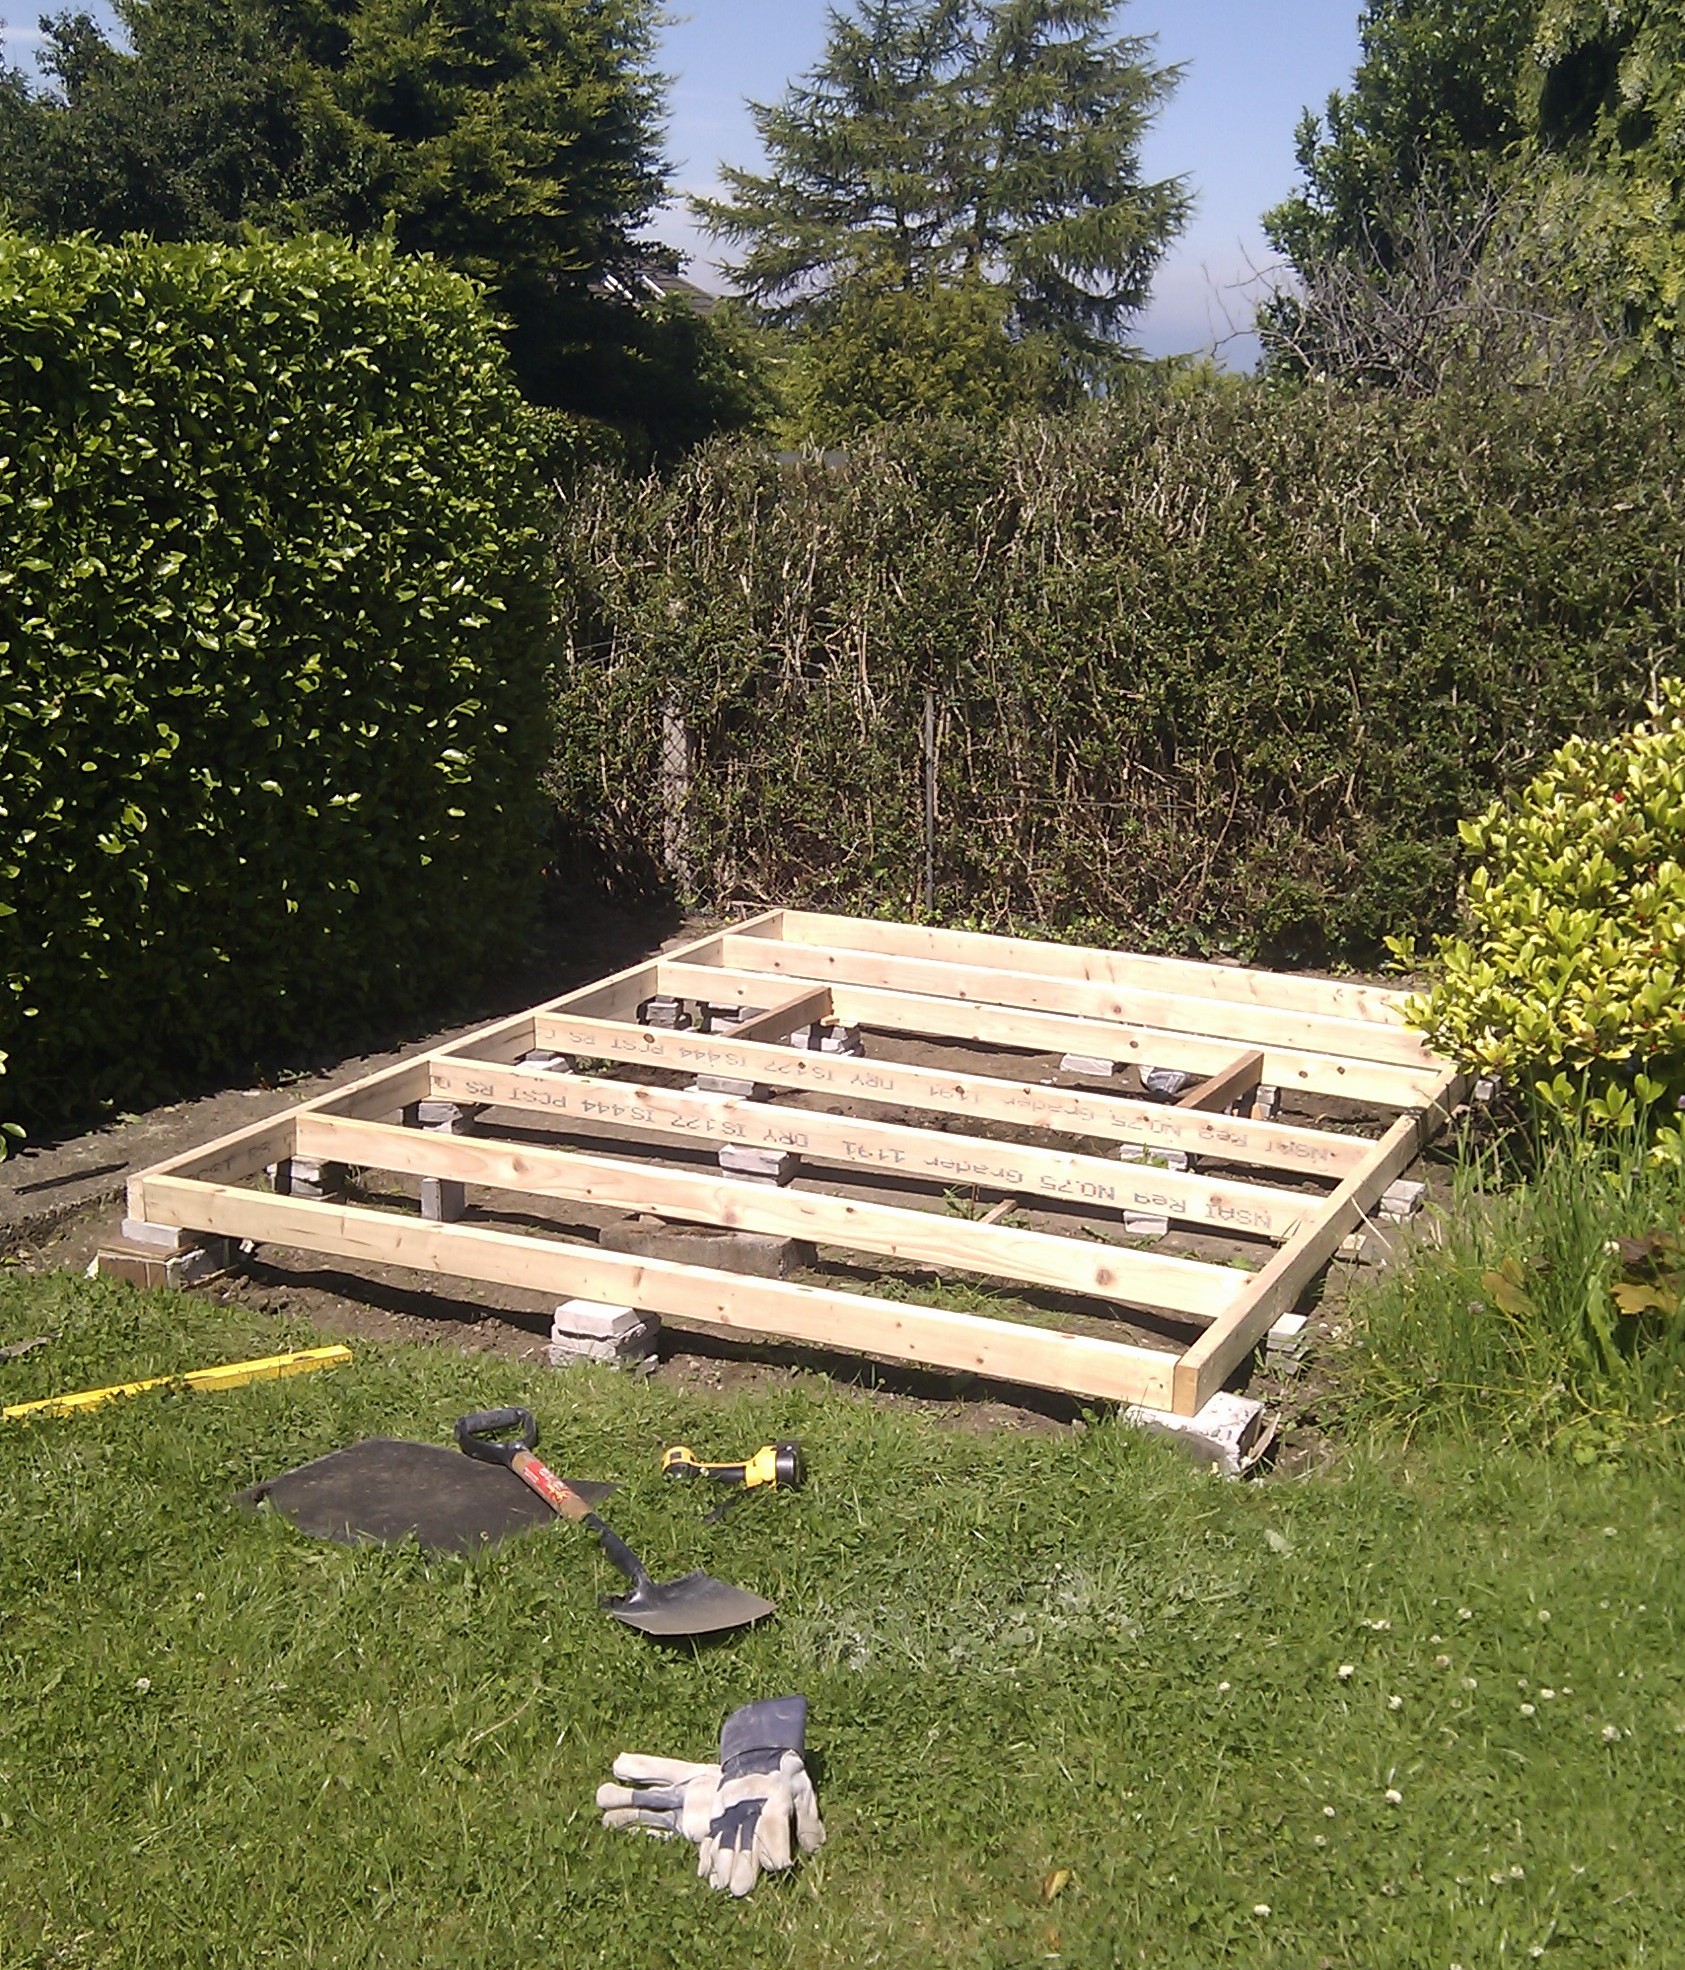
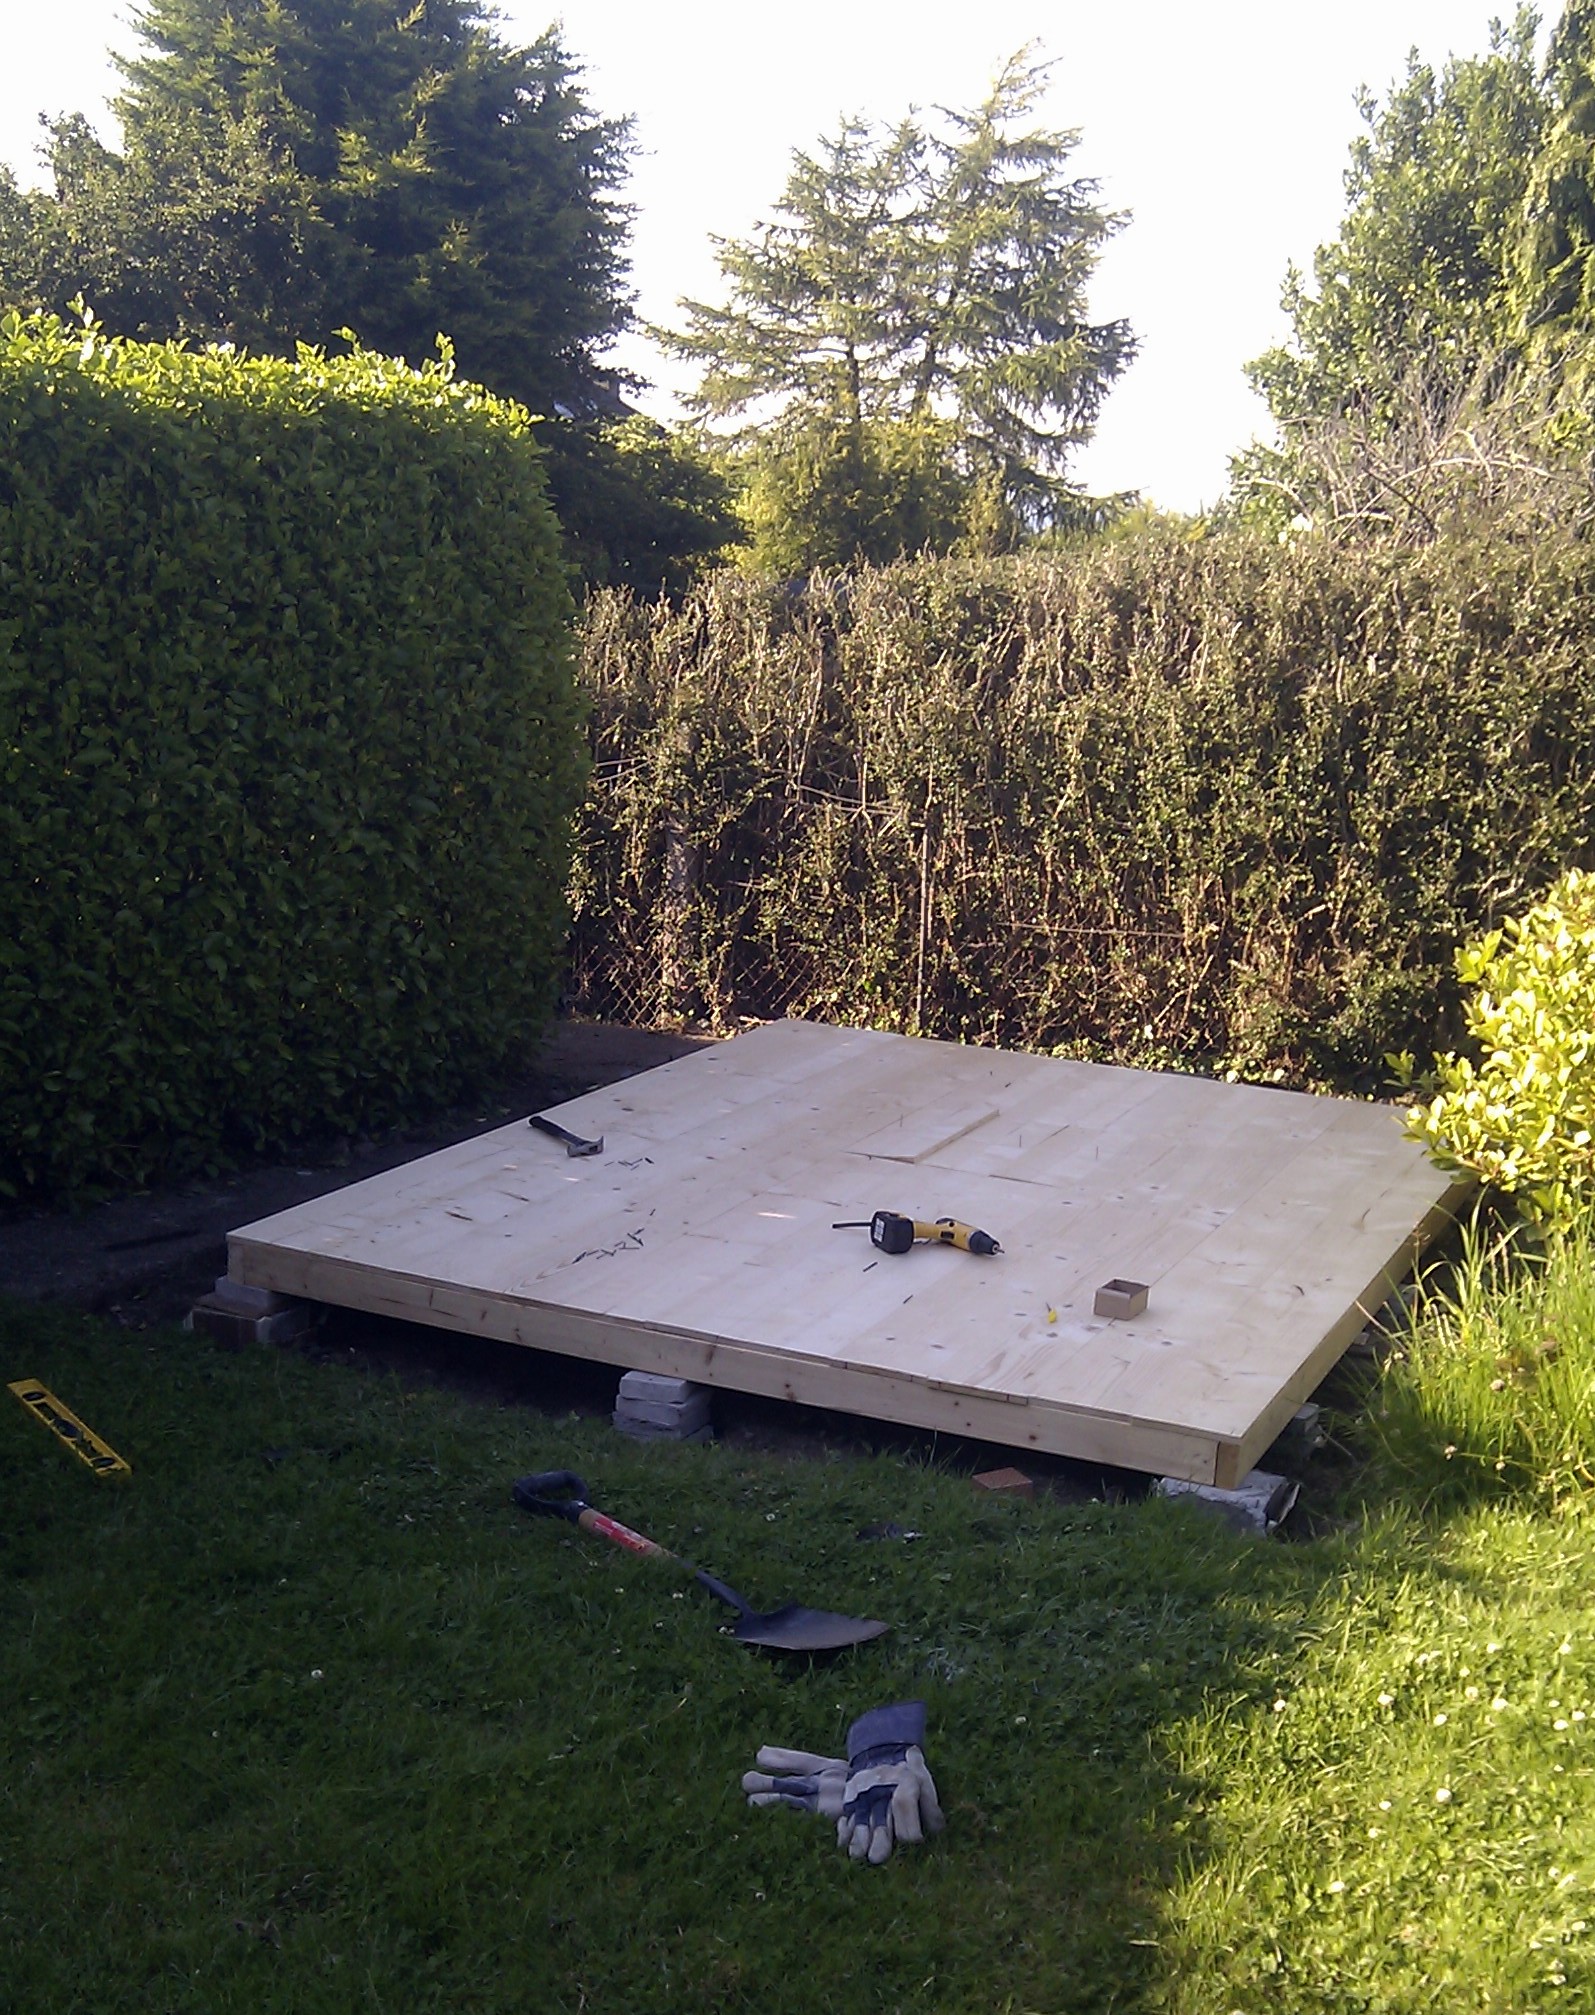
With that done the next phase was to add the 9×1 boards for the floor. Leaving a gap for where the pier will eventually go. Actually the gap left was big enough to ensure I can fit in it to excavate the pier foundation a bit more. That will be a job to do after the observatory itself gets built. Here’s what it looked like before I got my sister in law to put wood preservative on it on Saturday evening.
Sunday was another washout so hopefully next weekend will be fine. The next phases will be to trim the extra bits of the floorboards that are extending a bit further than they should and to put the wall frames up, again all 2×4. Given how this Summer has been going I doubt I’ll get the weathersheeting or roof done this weekend.
July 15, 2012
Only a few showers this weekend, which makes it probably the sunniest of the whole summer! So I managed to get two decent afternoons work done.
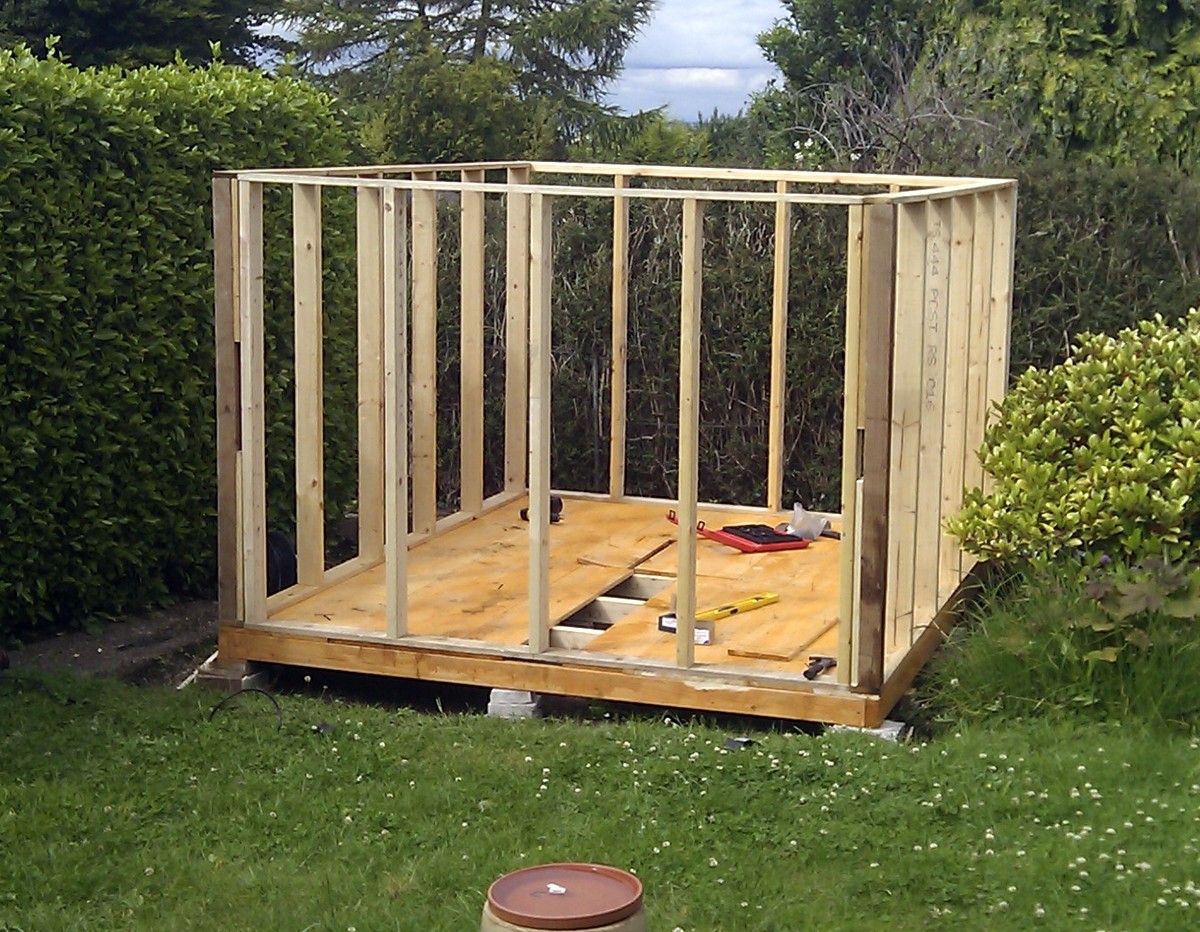
Firstly get the 2×4 frame up. This was constructed in 4 peices and then put together on the floor base.
Next to put the weather sheeting on. I’d ordered this treated but that was out of stock so plain shiplap had to suffice.
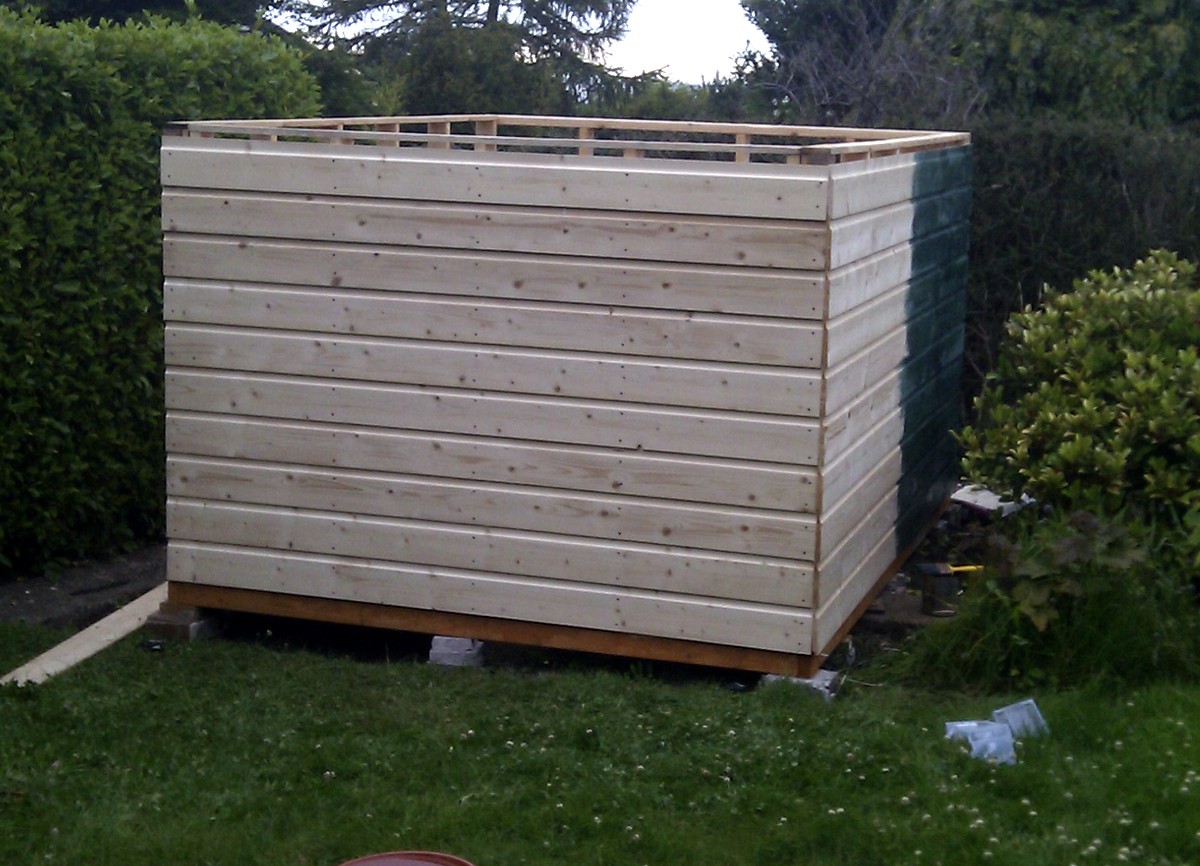
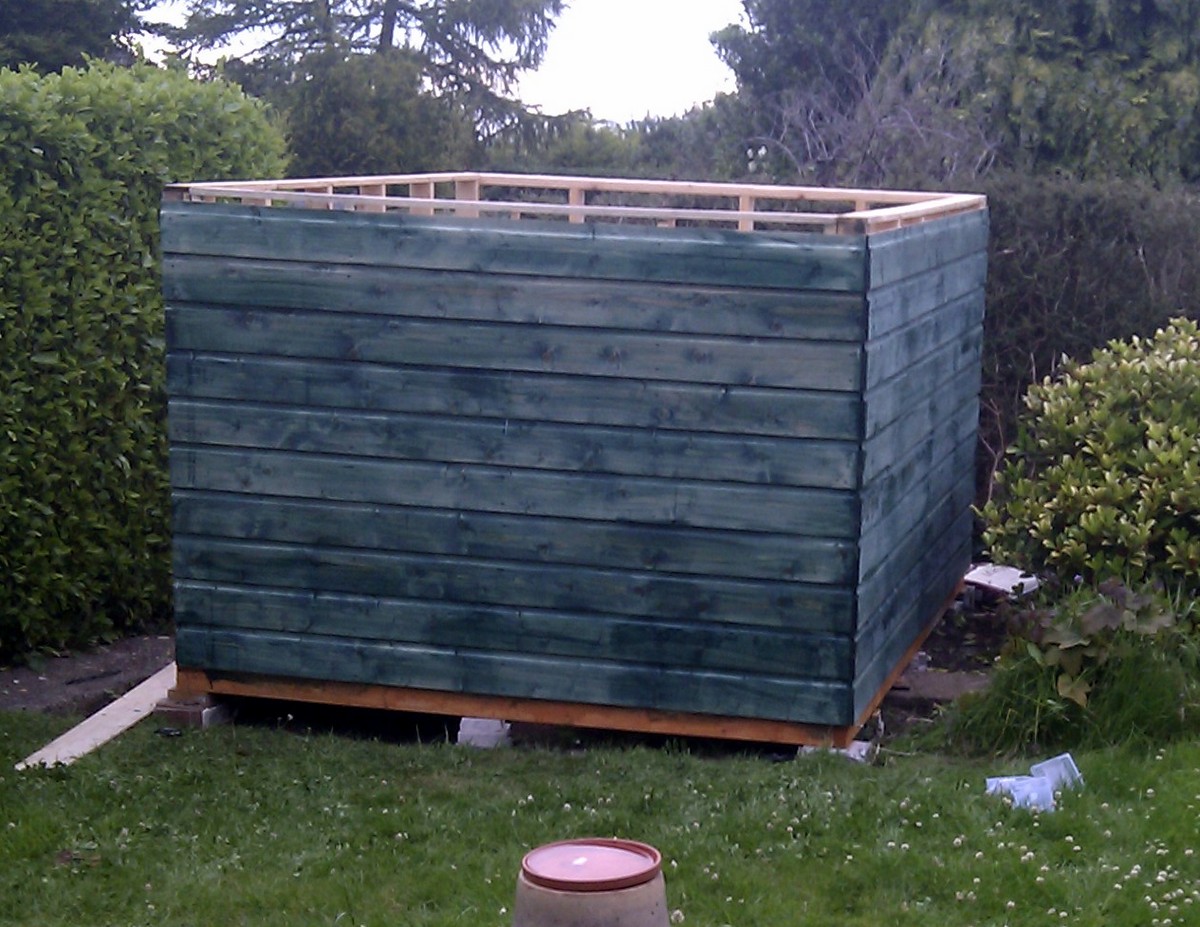
As you can just see on the above I’d started to pain on the wood preservative. Given the expectation of rain daily, I didn’t want to leave it unprotected.
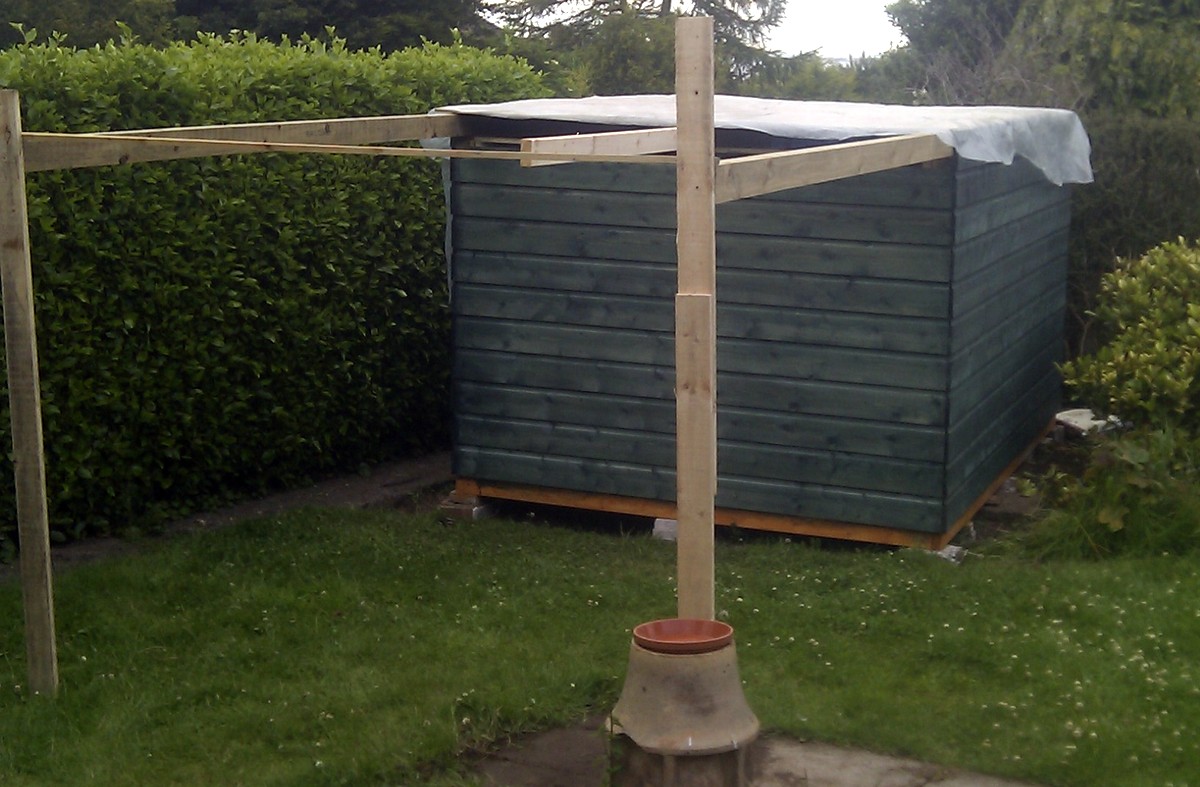
With that done it was time to work on the roof structure. The beginning of that was to be two 20ft 4×4 beams. Unfortunately all I could get were 16ft 4×3’s. So thats what I made do with; secured with some strong coach nuts.
Next I’ve to get the metal rails, build the support for the roof, and build the roof!
July 30, 2012
In between rain showers I’ve managed to almost get the building work completed on the observatory. Building the support for the roof and rails was easy enough though the beams were very slightly warped; this doesn’t matter too much as it can be corrected by placing the rails in the correct line.
The roof was trickier than I thought. I hadn’t tried to build a roof before and it’s quite easy to get things out of alignment and not straight. It’s not perfect but more than good enough for my requirements.
Here’s how it looked before I finished putting the felt on the roof.
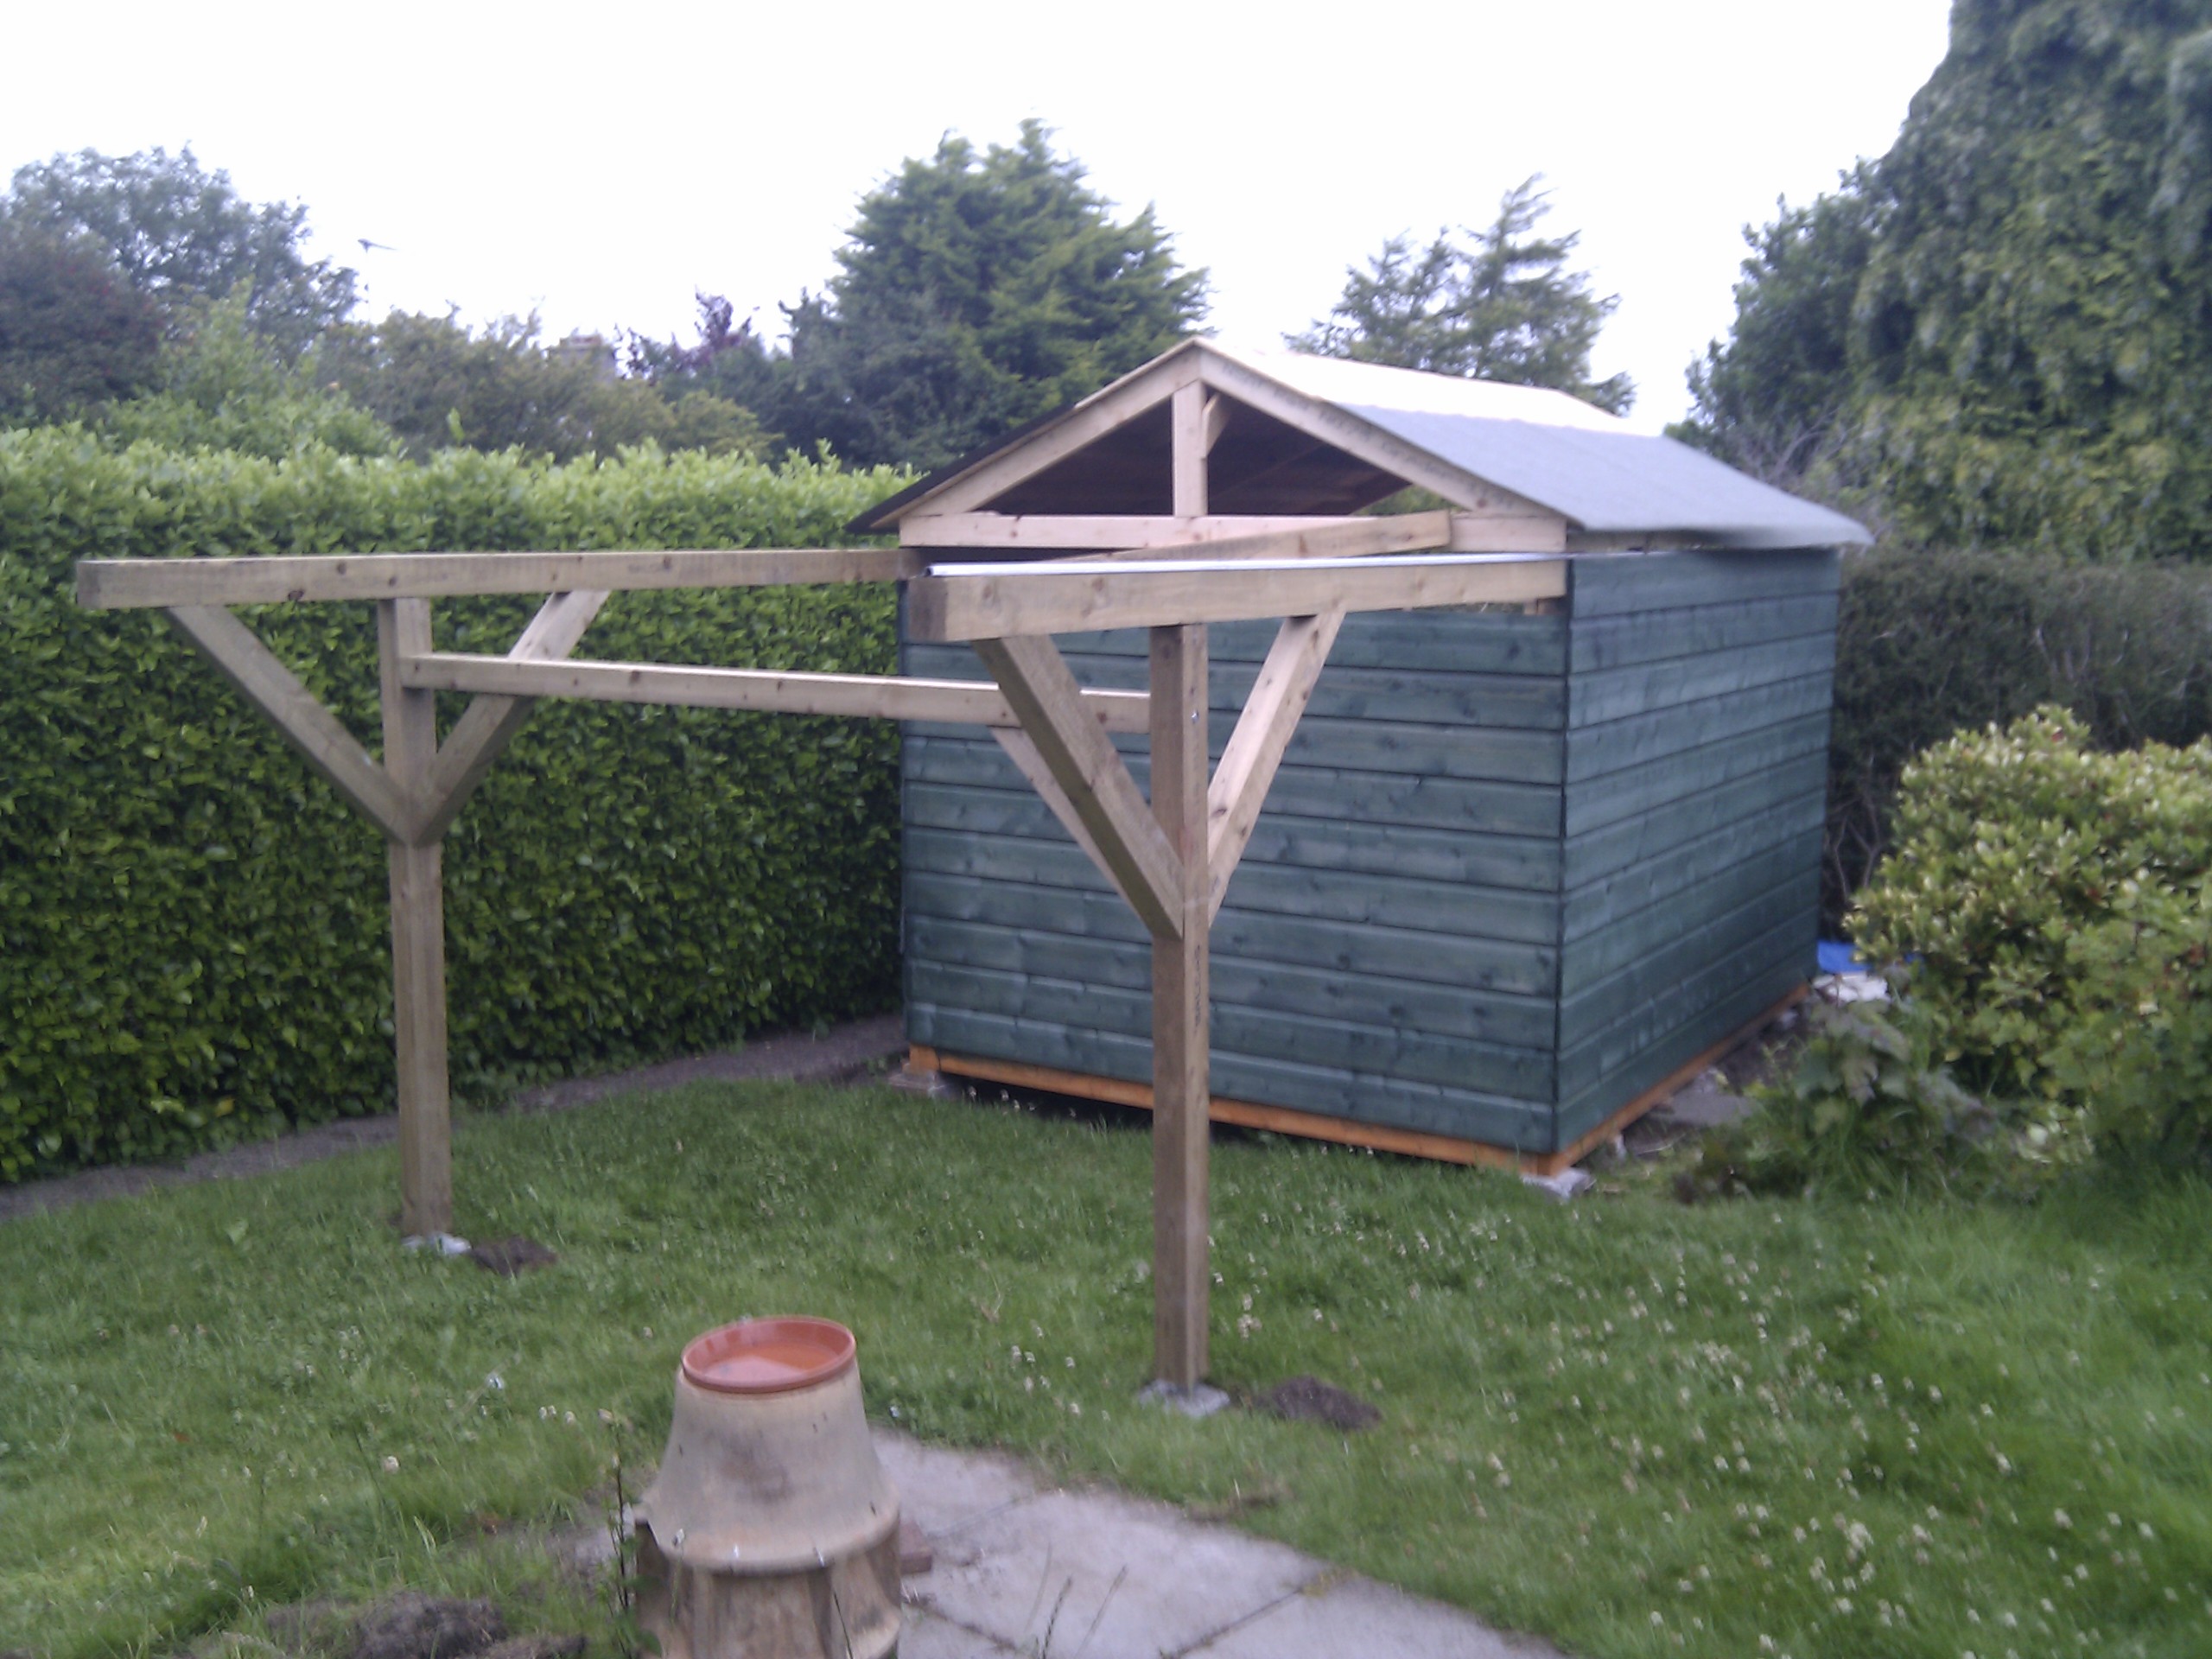
One issue where a lack of understanding of structural engineering has hit me was with the placement of the two castors on the roof. I thought placing them quarter of the way from the ends would be ok – trying to allow the weight of the roof to rest evenly on them. However the beam still flexed a little and the ends are just touching the rail:
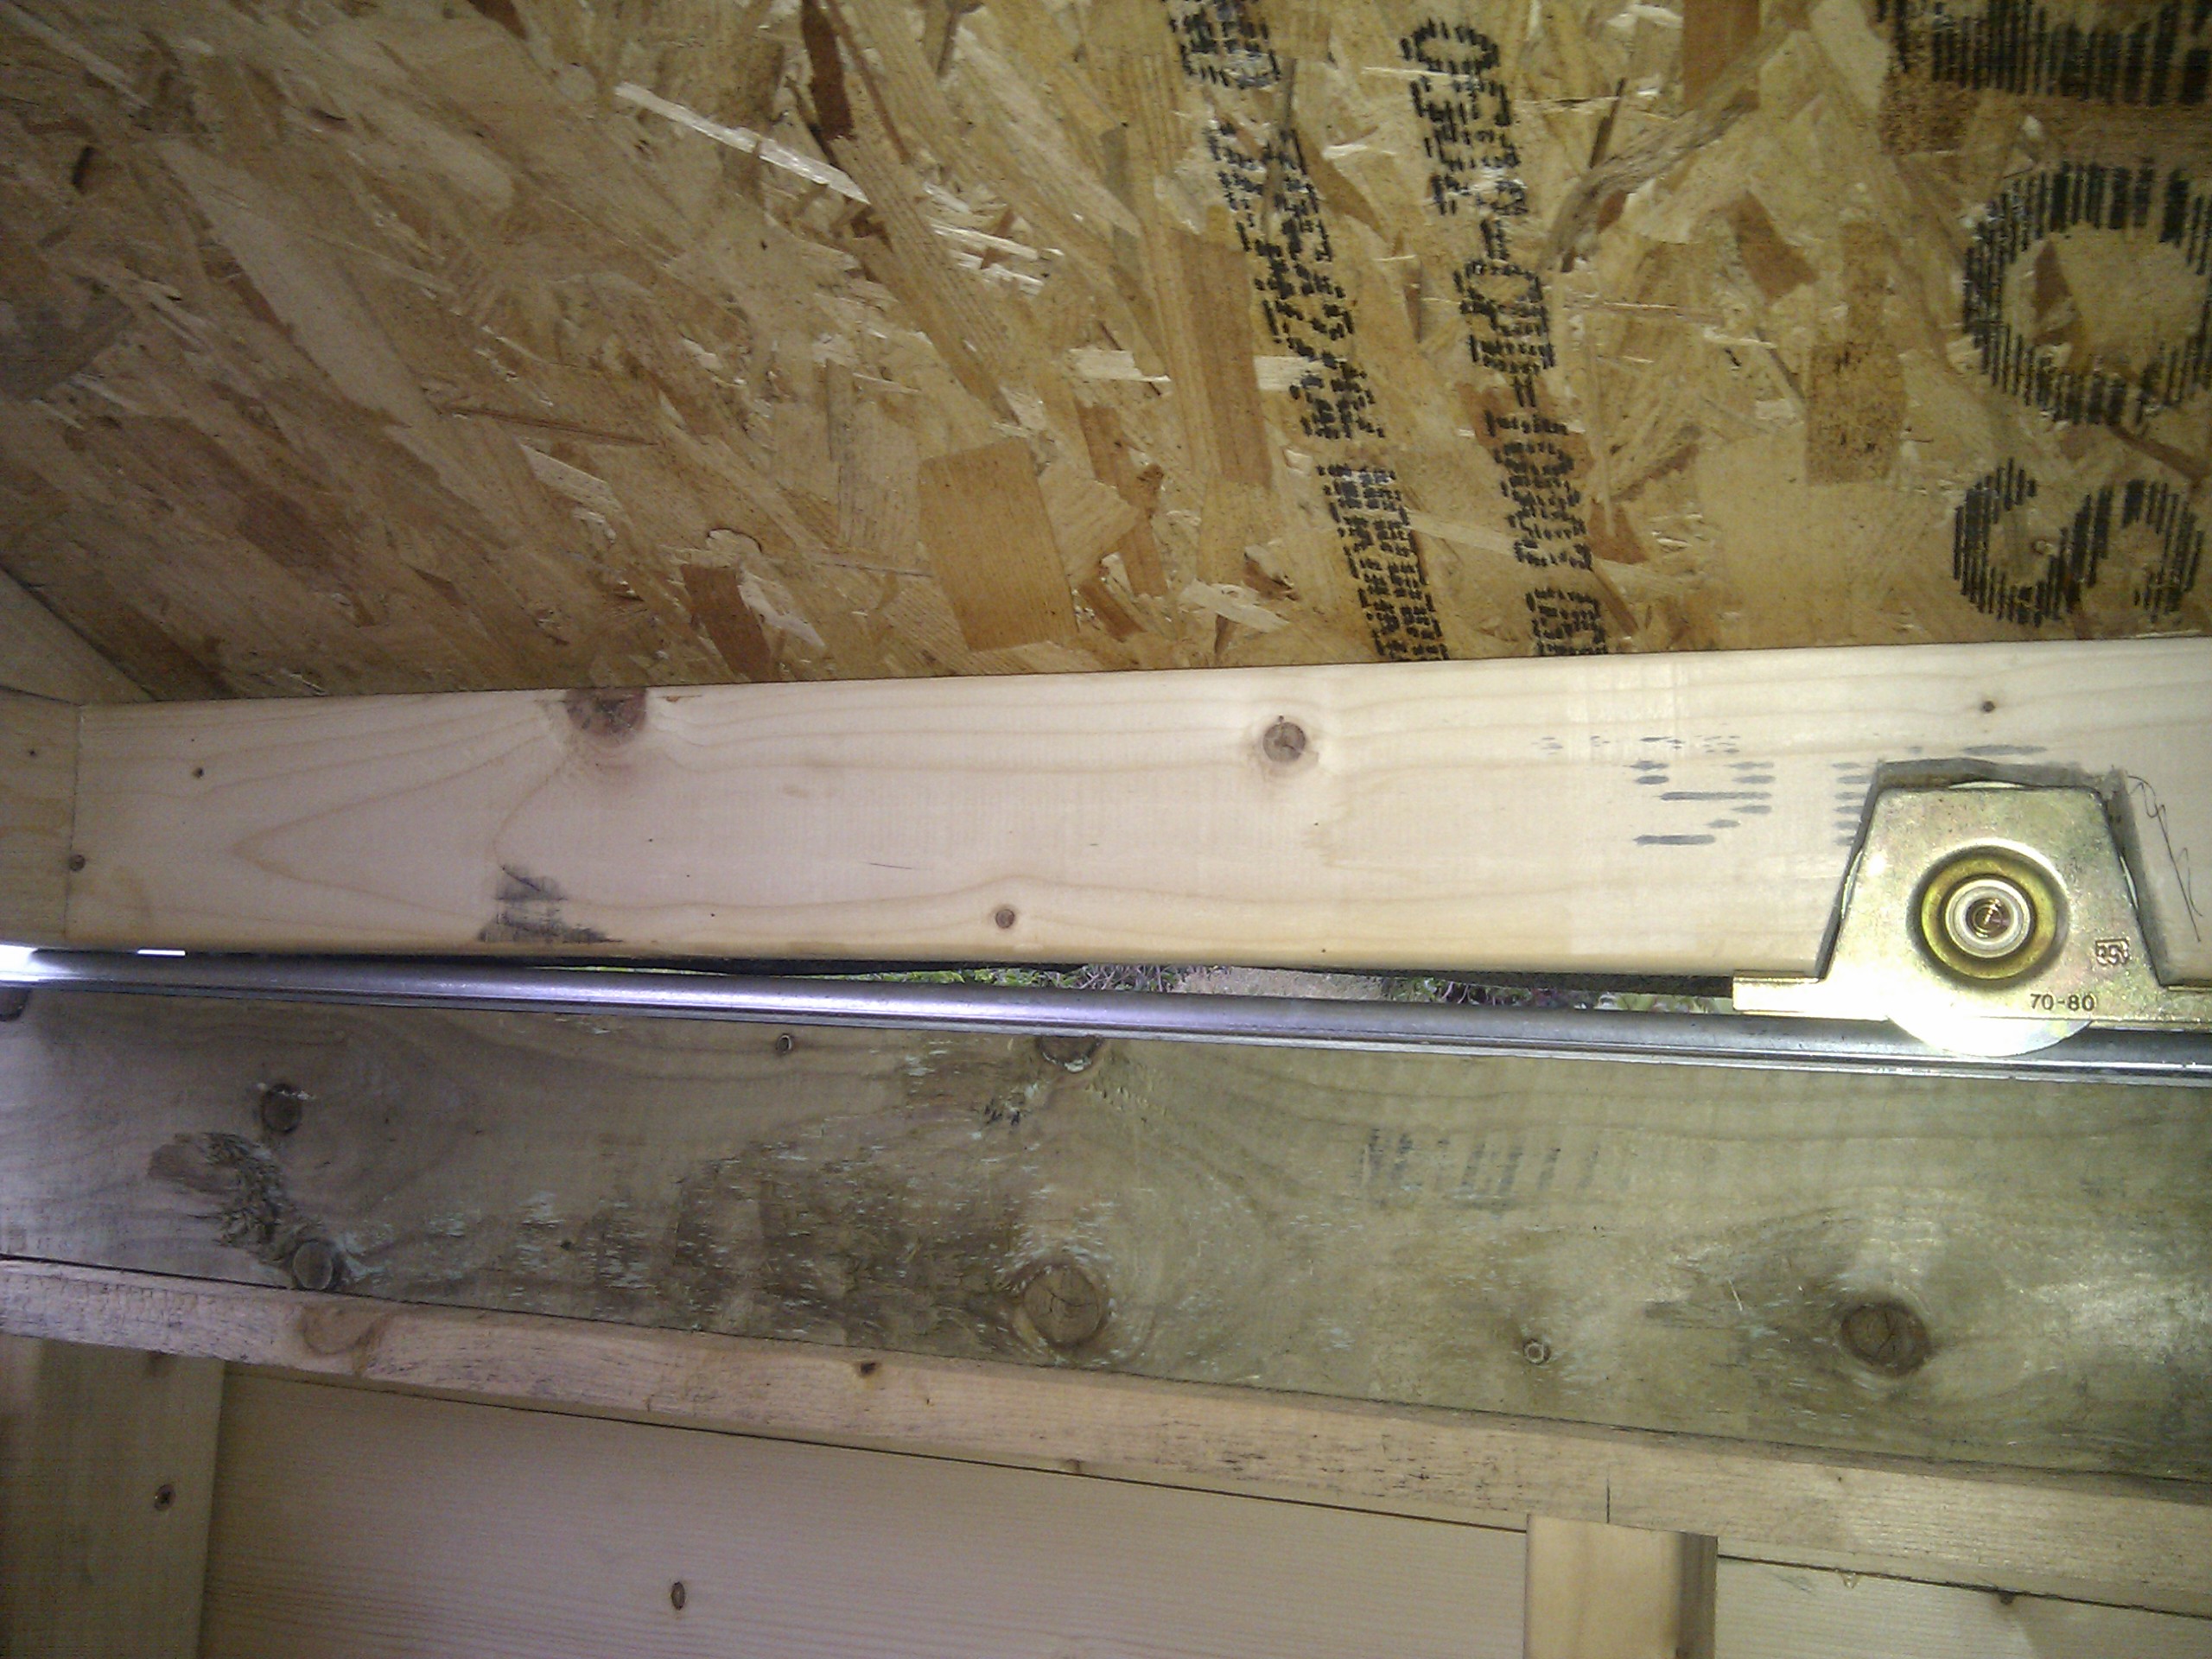
Placing at that distance might have worked if cutting the beam for the castor’s had not weakened the beam. I might be able to give it some more support by putting another 2×4 on the outside of the beam. It’s not too much of a problem so far, the roof moves easily enough with one hand, and even if it does become more of a problem I can add a couple more castors and redistribute the load. I’m very grateful to Dave Grennan for talking me into investing in decent castors and rails; using a cheaper approach would have just led to frustration later on.
So just a few finishing touches needed and the shed itself is done. Then digging out the rest of the base of the mount and building a desk etc. One thing I’m going to need to monitor is the temperature and humidity in the shed – the nature of the roll off roof means there is plenty of ventilation, but some vents in the roof may still be needed.
Aug 7, 2012
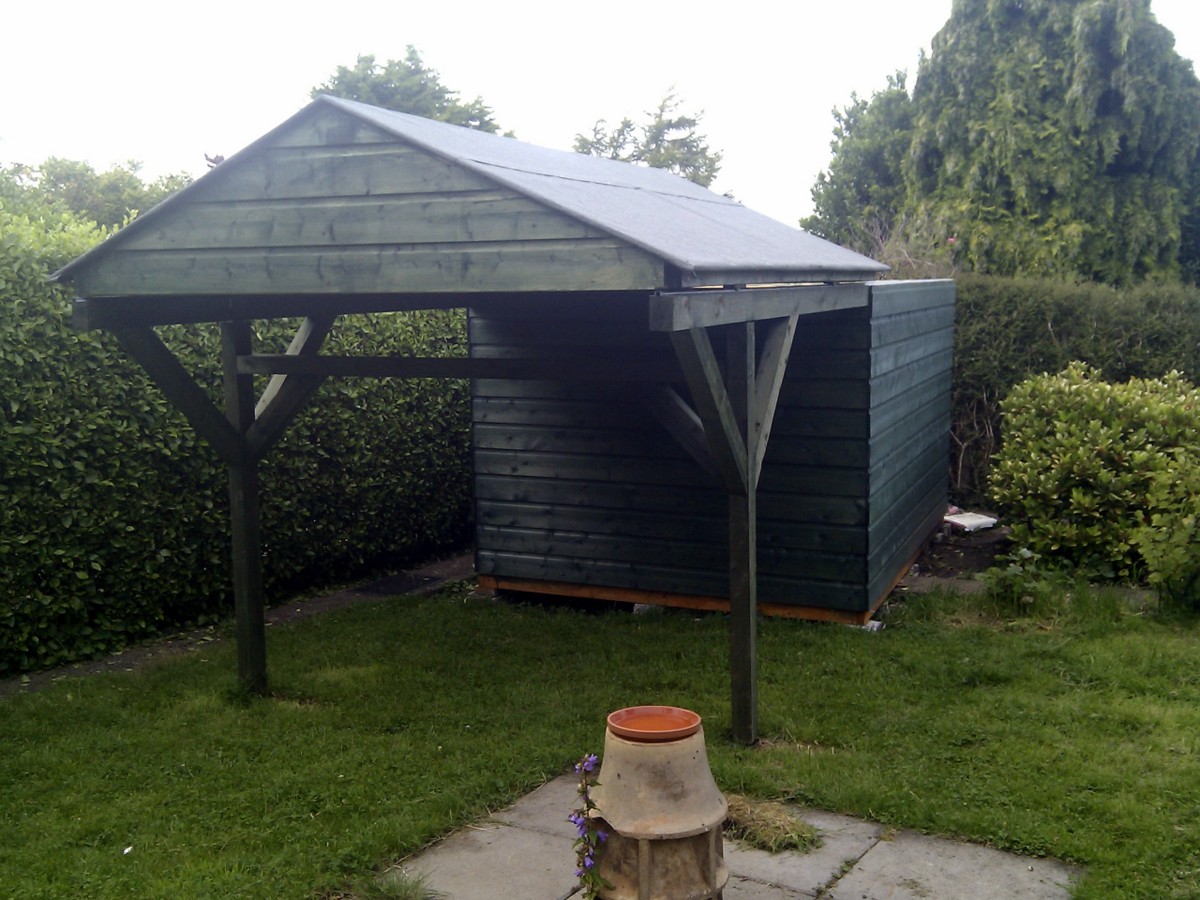
The shed part is pretty much complete now. Last weekend I made the door, got the rest of the weathersheeting in place, finished the roof, and got the wood preservative on. I also added a 2×3 to strengthen the beam with the castors so that the ends no longer touch the track; I’ve to do the same to the other side sometime, but as it stands I can move the roof easily with one hand.
Heres what it looks like open:
Inside there is a bit more work to be done. Heres what it looks like at the moment with a CPC tripod to give an idea of size:
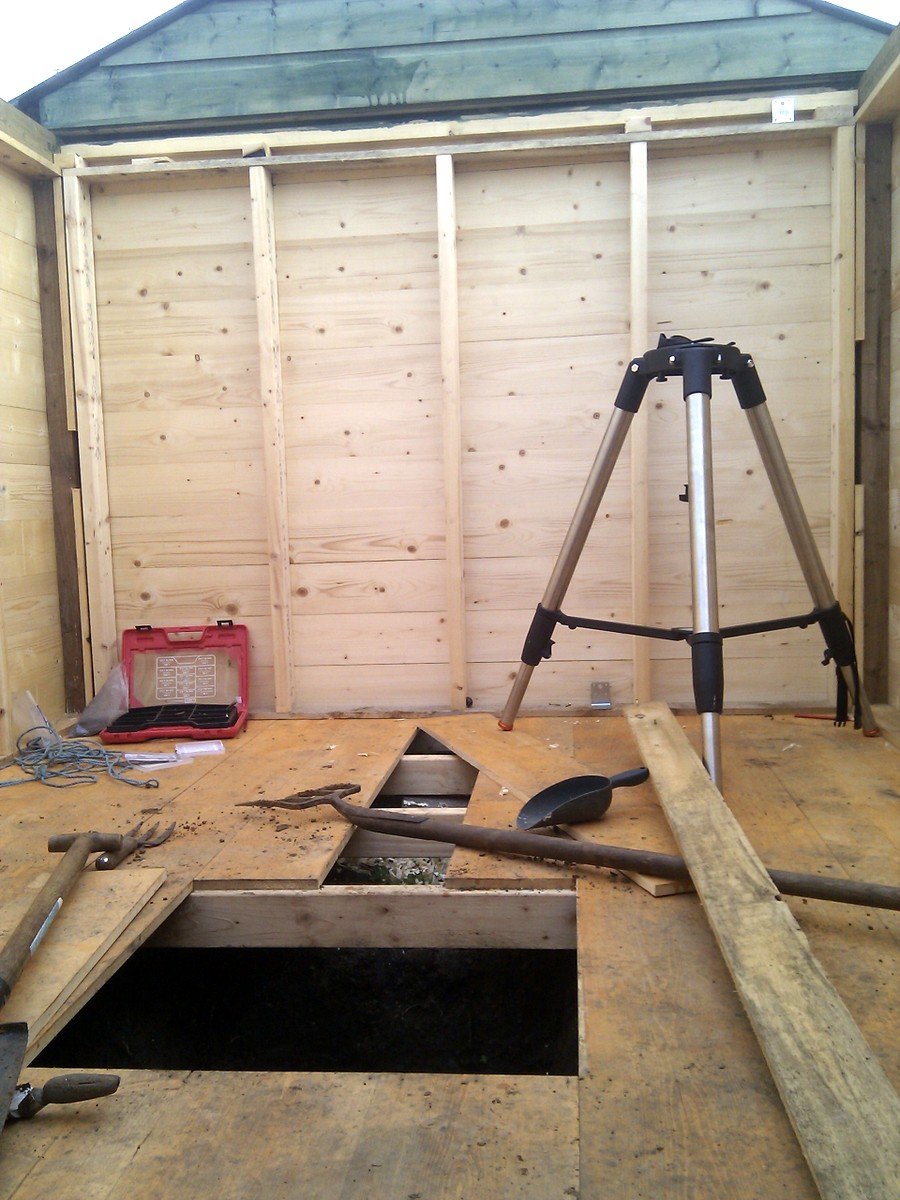
The next job is to excavate that hole a bit more so that I can fill it with concrete as the pier base. I’d dug it roughly 2ft x 2ft x 2ft before building the structure on top of it, but have decided to deepen that to about 1m and widen it slightly also. As of tonight it looks like this:
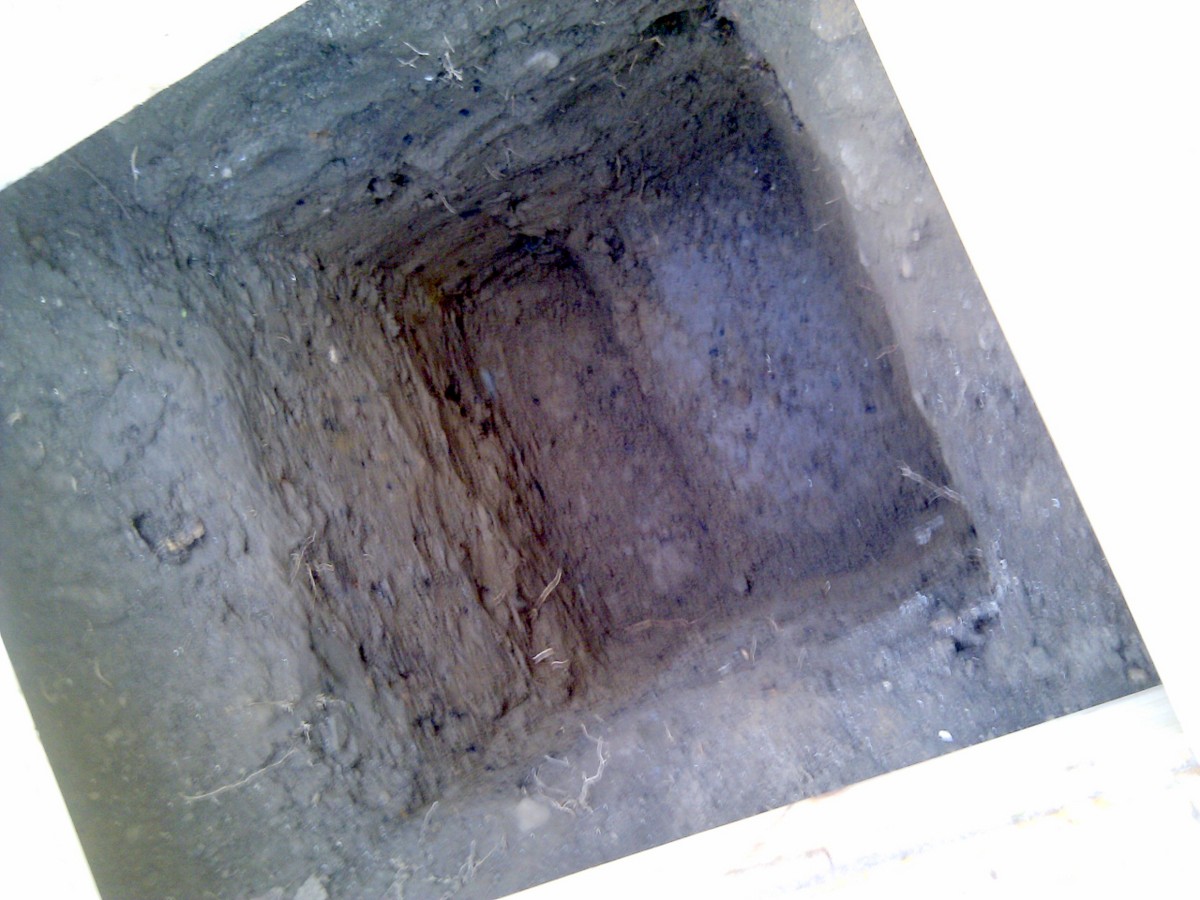
That’s proving to be quite hard to work in, so just as well I’ve lost some weight recently! The idea is that that concrete base will come up to about floor level. On top of that will be a 2ft tall steel pier, on top of that a smaller pier section to connect to the scope mount. Over time I’ll get a wedge for proper equatorial mounting of the CPC, but initially I think the top small pier section will be an “owl’s nest” type fixture and I’ll bolt the CPC directly to it.
Aug 23, 2012
By the end of the weekend I should be able to get first light in the observatory!
Since the last update I’ve dug the hole out properly:
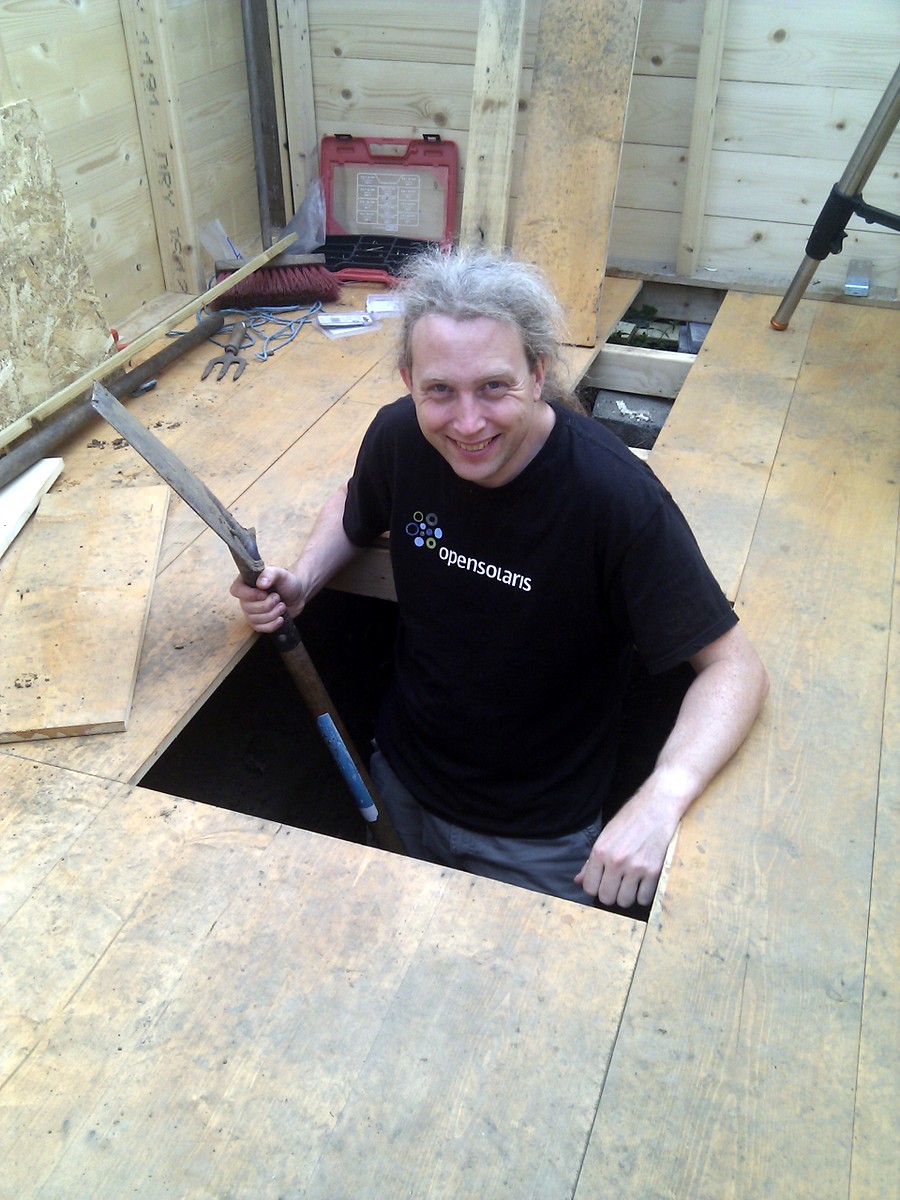
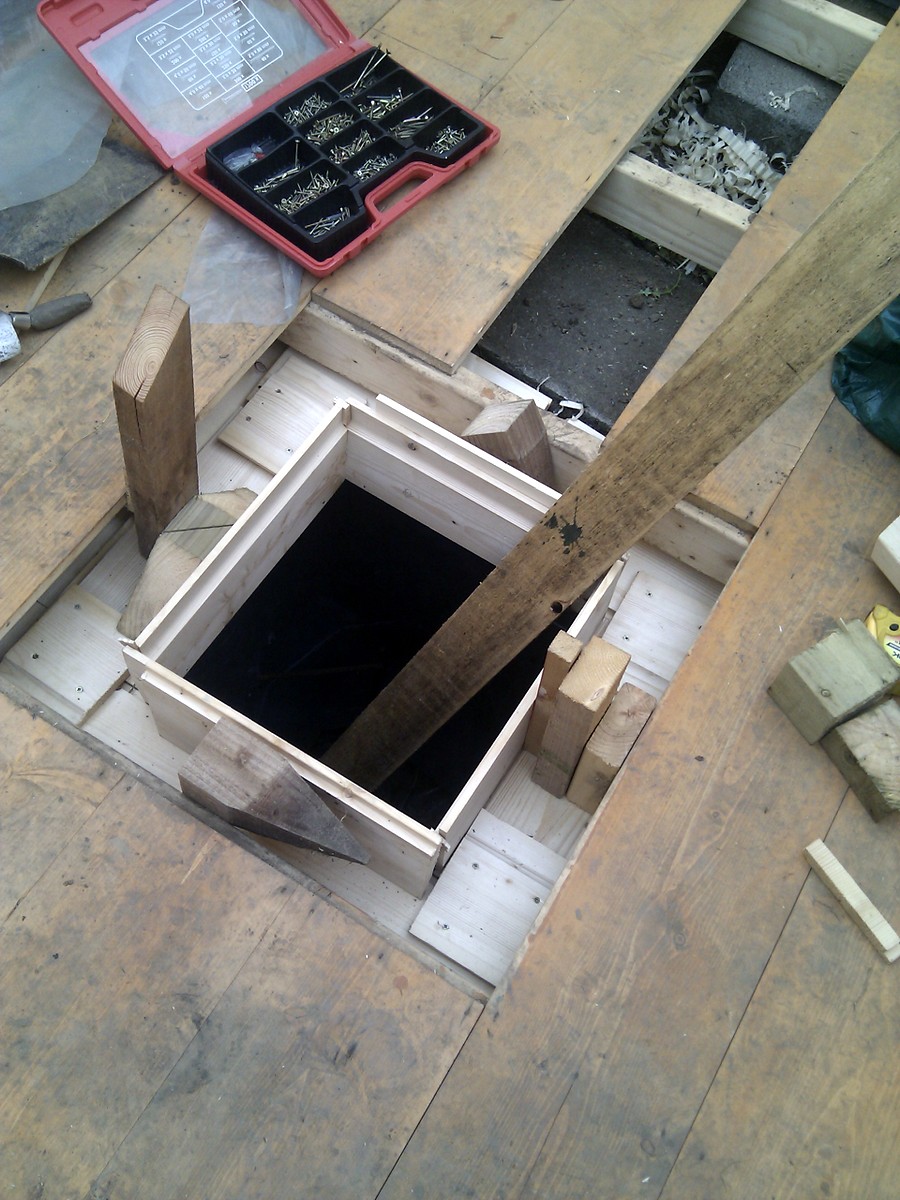
Digging this out with the floor in place made things a little harder, but it wasn’t too much trouble. Once that was done it needed a little shoring up and a few bits of wood to bring it up to the floor level:
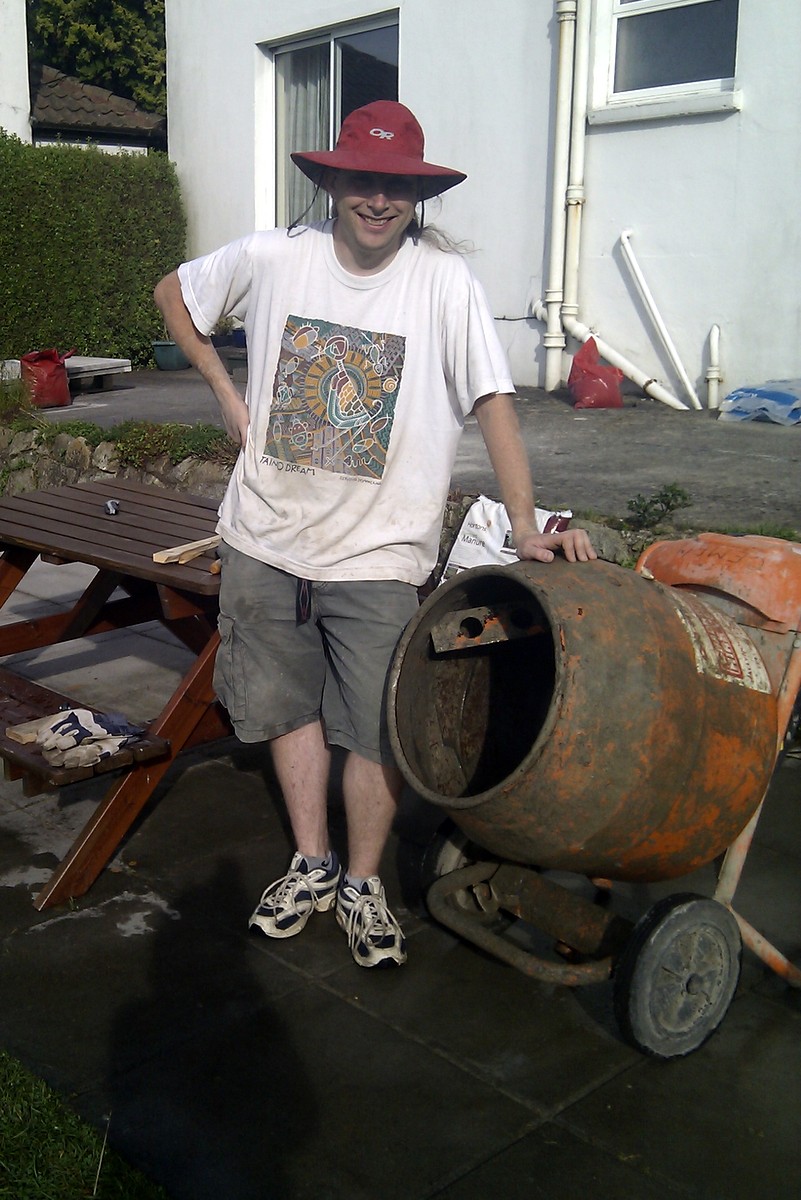
Next I had to fill that with cement. The guts of a tonne of the stuff, half a tonne of gravel alone, plus the sand and cement. That was far too much to mix by hand so I rented a mixer for the weekend. I got it all done in a day.
With the concrete base poured it was time to finally get the pier sorted out. I’d been debating how to do this for a long time. In the end I went with a design similar to what Michael O’Connell used. It’s a 10mm this, 200mm side of square box section with 350mm side square plates on either end. There is a small area cut out at the top so I can get at bolts, and 4 14mm holes in the base to anchor it to the concrete. I’m still not sure if amateur astronomers have much of a clue about building piers. The lack of actually engineering documentation is a problem, and not something that many amateur astronomers are trained in. This results, as a trip to the cloudynights forum will show, with many bits of anecdotal advice on how to build piers, combined with plenty of tales of how various ideas have failed! Thankfully there is one article written by someone with some engineering background on cloudynights which goes into some detail on pier design. The summary of that is that thickness matters so 10mm thick steel seemed a good idea. One thing I have observed from structural engineering is that a box will wobble less than a tube, so going with steel box section seemd a good idea as well. I have no idea yet how this pier will perform but I’m willing to bet that any harmonics that the pier exhibits will be far less than the error on the CPC motors and tracking. Once possible area that could be improved on the pier would have been the addition to fins or gussets at the base, but as it is I _think_ it’s over engineered! I ‘designed’ the pier using Google Sketchup and Woodloe Engineering (who also did the steel work for Tallaght Stadium) made the pier for me. Here it is in the Observatory tonight on the pier (it’s actually painted grey, the cameraphone flash has some strange colour balance!):
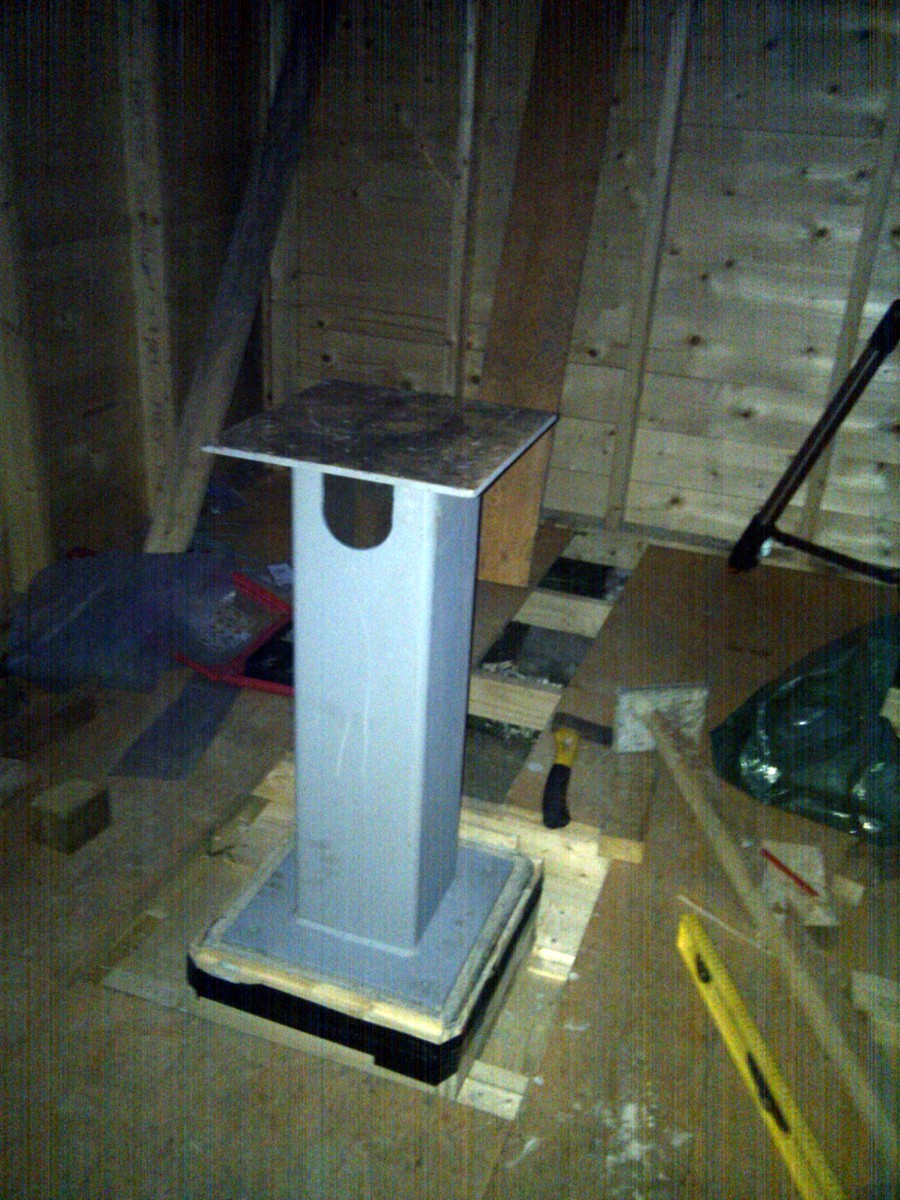
One suggestion I did get was to build a two piece pier so that I could get the maximum height for the scope, but if I upgraded to a proper mount in time I could still use the same main base. I didn’t do that simply because of the cost. The downside is that I wont be able to go quite as low down in altitude with the current mount, but that’s not a big loss given the site.
Next I need to fix that to the concrete base and ensure it’s level. The plan there is to drill holes into the concrete and hold 12mm bolts in place with epoxy. Then mark out the holes in the top of the plate and mount the scope on it. Hopefully I can get that done this weekend and get first light soon!
Aug 25, 2012
Well we finally got first light! ok it was sunlight reflected off the clouds but it counts!
The first job today was to drill down into the concrete base to anchor in the 12mm bolts in place. The local building suppliers had Rawl R-KEM which is a two part epoxy that comes in a 300ml tube, it mixes in the nozzle so its easy to apply. With the bolts in place the pier was put in place and leveled:
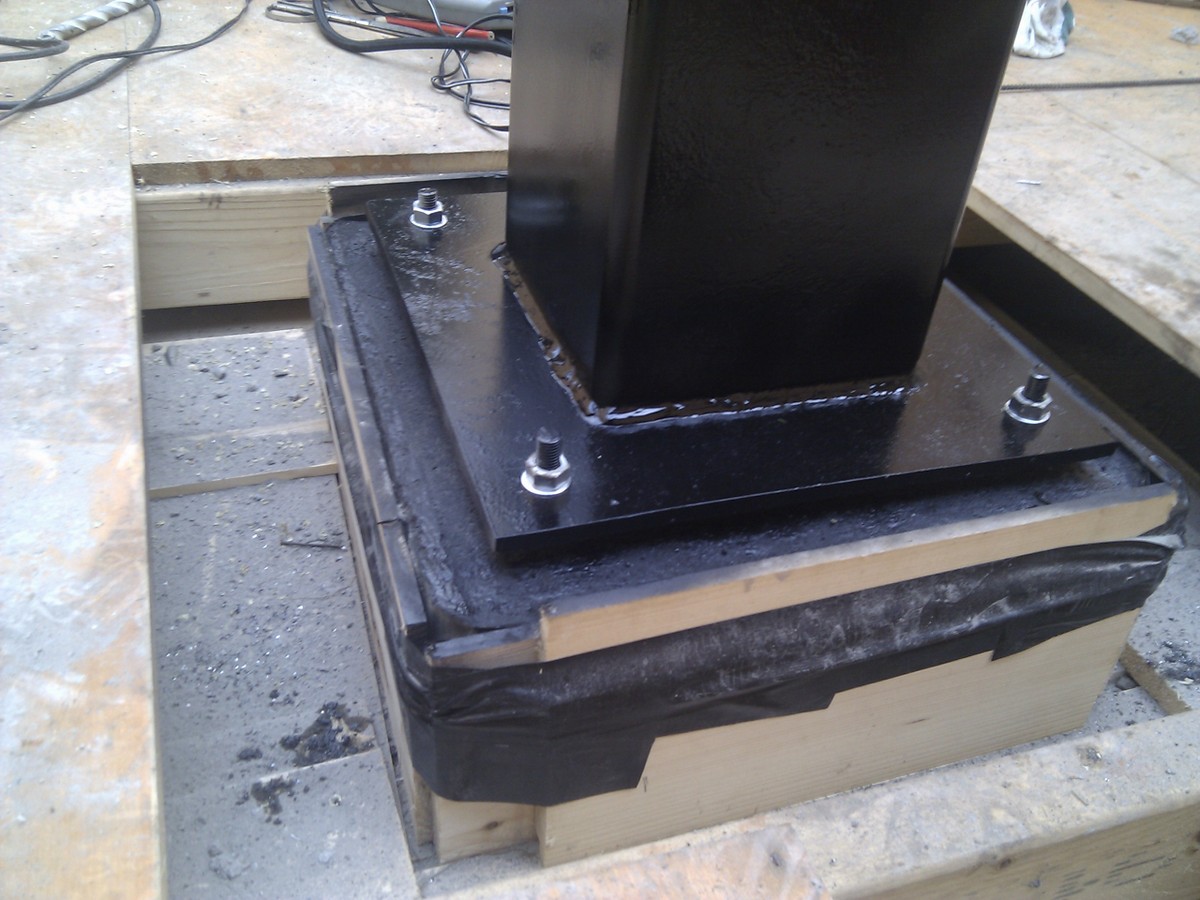
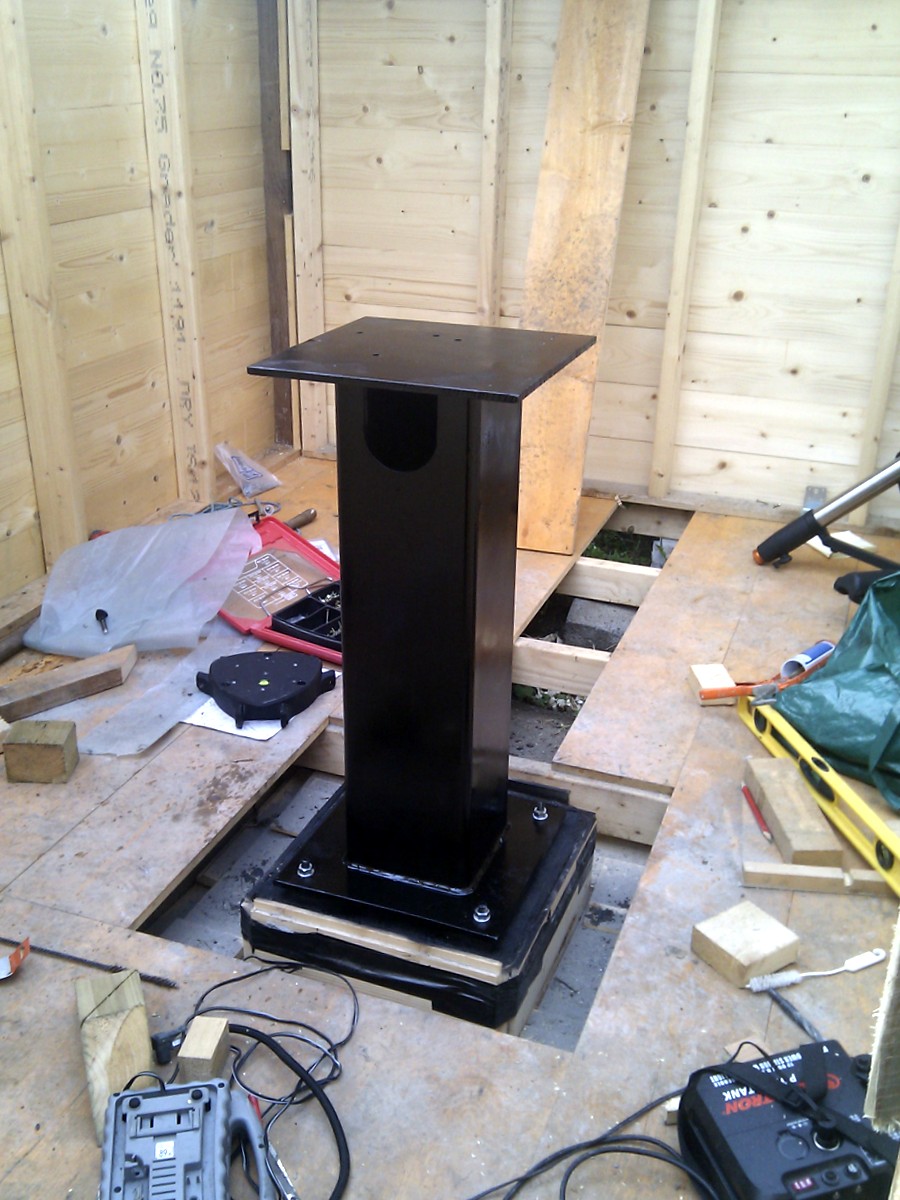
If you look closely you’ll see that the the pier is not resting on the concrete. This is because there are nuts below the base plate so that the pier can be accurately leveled on top. For a Alt-Az mount you need the base to be level, and for the moment, until I get a decent wedge at least, I’ll be using the scope in Alt-Az mode. This setup probably weakens the pier a little, but Alt-Az will be mainly for visual use so thats not a problem. Once I get a wedge or a new mount I can rest the pier on the solid concrete. With a equatorial type mount all that’s important is that you have the polar axis aligned correctly, It doesn’t matter if the base isn’t perfectly level. Here’s what it looks like freshly painted and leveled and with the holes for the scope drilled in:
And with the scope on to (and after tidying the place a bit!):
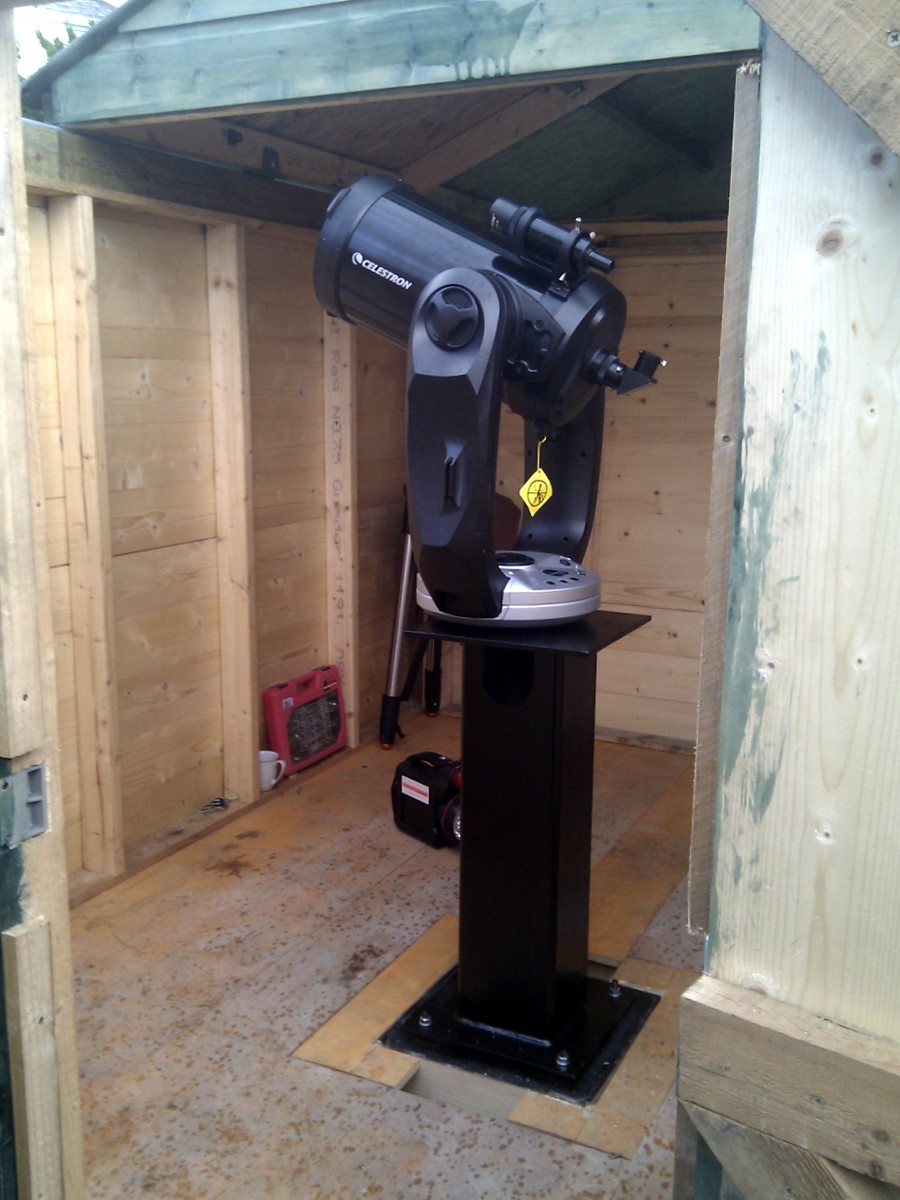
If you look closely you’ll see that the scope isn’t centered on the pier. That’s because if you drill the holes in the center there is no room for a nut to turn against the inside of the box section. Yep, I found that out the hard way. So it’s slightly off center. Drilling through 10mm steel is a tricky process. You need the right drill bits and a drill that you can drill slowly with. Start off with the smallest bit you have, add oil to the area you are drilling as needed, and drill through slowly; then increase the bit size until you are at the needed size. In the case of the tripod screws for a Celestron CPC thats just over 10mm for the M10 screws. I used the screws that came with the tripod to attach the scope to the pier, the local DIY hardware shop didn’t have M10 bolts in the right size.
From the outside it looks like:
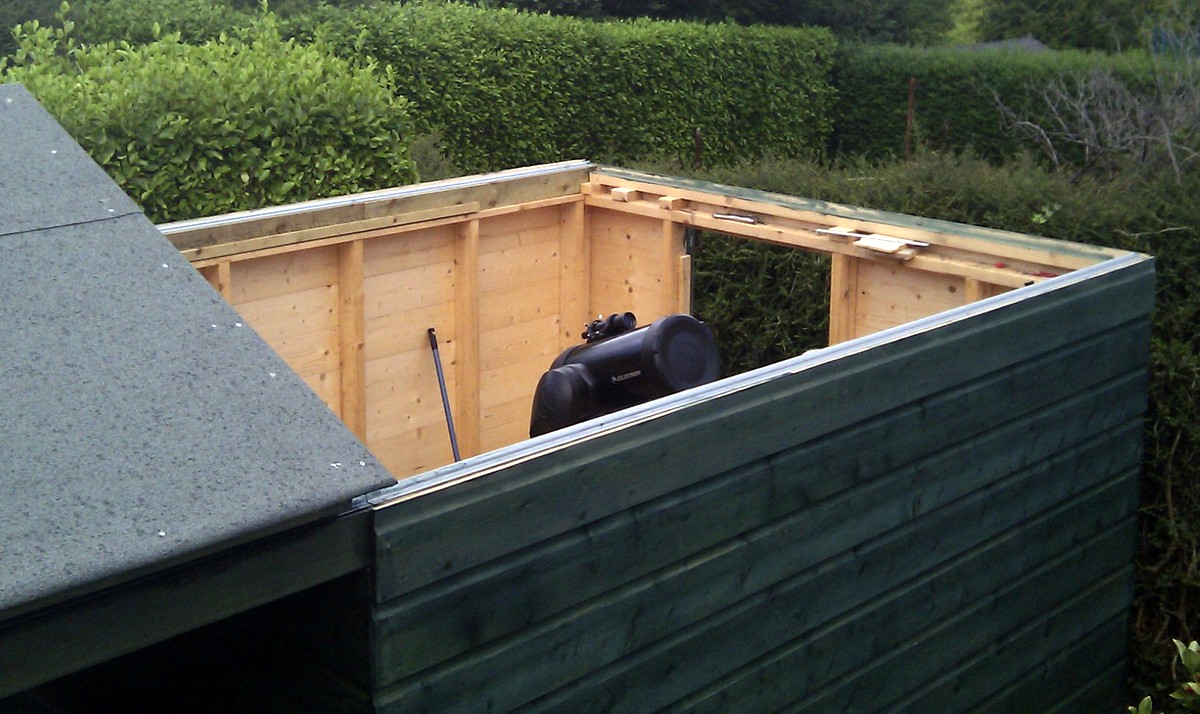
If it looks like it’s a bit low down in it’s because it is. I have another 20cm of clearance between the scope and the roof when it opens. I’ll leave it like this for now, but if I need to get lower down targets before I get a wedge I can raise it up with longer bolts and wood as a support or something.
One other job I did today was to put in a 3×2 piece of wood to reinforce the 2×4 on the far side that has the castors in it. I’d done this previously with the other side. This worked very well. So well that I need to put stops to make sure the roof doesn’t fly off. I can easily move it with one hand (so can my mother in her 70’s), and with a good push the roof will slide completely off!
I mentioned in the title that this is ‘Phase 1 complete’. The criteria for that was to be able to use the observatory for visual work. Phase N is to have a fully automated MPC designated observatory. There are a few phases in-between. The next steps will be mainly around comfort! I’ll build in a decent desk and chair, some storage, and sort out any snags that I notice while using the setup.