Some friends after seeing a strangely cut bit of cardboard in the observatory suggested I write a blog post about it. Those of you who do astrophotography won’t need an introduction to the Bahtinov Mask, but this post might be of interest to the rest.
Getting focus right in astrophotography isn’t easy. Autofocus doesn’t work like it does for normal lenses. And judging it manually is error pone, you can estimate when a star looks like a point, but there is a large margin of error in that estimate, a bright star may look like a sharp point but the fainter stars may still will be blurry. This is especially true in poor seeing where star image blobs can look the same over a large focus range.
Looking at this at a pixel level we can assume for an example that all the light from a star falls on a single pixel. If we are a little out of focus the light can fall on five to nine pixels. So as well as stars not being sharp, the fainter stars light will be spread out and will be lost in the noise. The result being that there will be fewer stars visible in the image as well as blurry ones. For astrophotography we need to make the best use of the few photons we get so exact focus is necessary! This is particularly true for planetary imaging where we are looking at features separated by fractions of an arcsecond – an arcsecond is roughly the width of a human hair at distance of 15m.
The first method I came across for getting accurate focus was the Hartmann Mask. This is a card that you place over the main objective of your telescope or lens and it has two circles cut out from it. I was informed years after starting to use these that the correct term for a mask with two holes is a Scheiner mask, named after the Jesuit Priest, astronomer and physicist Christopher Scheiner in 1619. I haven’t found a translation of his ‘Oculus hoc est: Fundamentum opticum‘ but he does appear to demonstrate the idea in a diagram.
When out of focus there will appear to be two images. As you approach focus these will merge into a single image. If you use a Hartmann Mask with three circles then there will be three image that will merge.
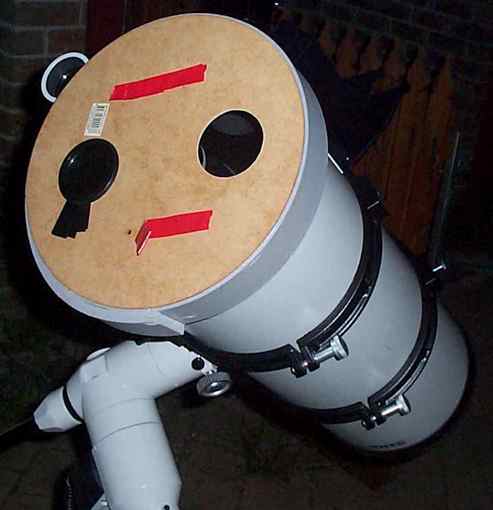
A basic Harmann mask looks like this, though you will see variations with different numbers of apertures and different shapes:
This gives an improvement over a visual estimate but it still is hard to get the exact optimal focus point.
The approach I use now uses a ‘Bahtinov Mask’. At first glance this looks like a complicated Hartmann mask. However the operation is slightly different. With a Hartmann Mask we are taking images coming from both apertures and when we are out of focus on our detector, the out of focus image will be in different places, when it’s in focus the focal points are in exactly the same place on our detector. A Bahtinov Mask however uses diffraction.
 A Bahtinov Mask.
Grab a good Physics book for a description of diffraction! For now you just need to know that light can behave as a wave and when it encounters an object it will bend. In many telescopes the secondary mirror is held in place in the optical path with four rods. As the light passes by these rods a diffraction pattern is generated which gives stars in photos taken with these scopes four characteristic spikes. The Bahtinov Mask exploits this phenomenon to create diffraction spikes that we can use for focussing. Instead of having 4 spikes on a star we create six, which when focussed will produce a symmetric pattern. This simulation from wikipedia shows what the image looks like as we move in and out of focus:

This makes it much easier to determine when we have good focus, and some software package (e.g. Backyard EOS) can analyse images of the pattern to calculate how close to idea focus we are.
This approach is easy to get reasonably accurate, easy to make, and is effective even in poor seeing. Coomercial masks are availble, however you can make your own by creating a stensil for your optical setup at http://astrojargon.net/MaskGen.aspx?AspxAutoDetectCookieSupport=1
Of course if we are prepared to use software we can also use the old faishoned method of getting the best ‘Full width Half Maximum’ FWHM value. When light from a star falls on a detector it will take up several pixels. As the star is focussed most of the light will fall on the center pixels, when out of focus the center of the image will not be as bright and the light will be spread across neighbouring pixels.
Here’s how the software package MaxIm DL represents the star:

This image represents the amount of light falling on pixels as the height of the ‘mountain’. Ideally focus is achieved when we have a tall narrow ‘mountain’. This is usually measured by the FWHM value which is the width of the star image at half the peak value of a star. The lower the FWHM the sharper the image.
The whole operation can be automated with motors on the focuser connected to software that can continually analyse the images and make adjustments until optimal focus is achieved. That is quite an expensive approach! Perhaps sometime I’ll look into that, but for now my Bahtinov Mask made out of an old cardboard binder is doing the job of getting quick and accurate focus.