Following some recent discussions over on the SRFC Ultras message board (www.srfcultrasforum.com) I thought I’d do a little tutorial on how I made a simple 2 post flag. This flag is a little on the small side but hey it’s just a tutorial.
The idea behind 2 post flags is that it makes it easy to show off a message or a design. Large flags at the sidelines of matches are easy to read, but not easy to wave about. As soon as you start waving flags it makes it very difficult to see the design; the exception being clear designs on tifo flags.
The first thing you need a design. This can be as simple or as complicated as you like. Simple works best. Create it in your paint program of choice. It does not need to be actual resolution, once it looks good on your screen that fine.
Next you need material. You can get fabric from a drapery shop, currently it’s about €4.50 per meter near me, and about a meter wide also. Drapery shops usually have a ‘remnants bin’ where you can pick up bits of fabric for less than half that price. Another option is to get a bedsheet, you may be able to find these cheap in a department store.
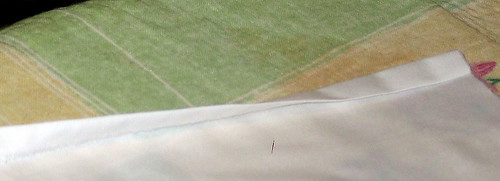
Next you need to sew it. With a bedsheet the edges will already be sewn, but if you bought the fabric you will need to do this yourself. The simplest way is to iron the folds in place and then sew; its a lot easier if you iron it first. Make a fold a little less than 1cm on the edge and iron it, then fold that again and iron it.For the ends that the poles go into make sure there is enough room for the poles to fit first!
 Regular edge.
Flagpole edge.
You are now ready to sew it. If you don’t have a sewing machine ask your mother! She will have one or have a friend who does! Once you work out what all the knobs and switches do sewing machines are straightforward enough to use.
For the flagpole ends you need to make the second fold wide enough so that your poles fir through. That depends on what poles you get. I went for the cheap option again, 25mm electrical conduit tubes from Woodies DIY. These are light, not too flexible, not too rigid, and won’t hurt if a kid at a match decides to hit his mate with it!
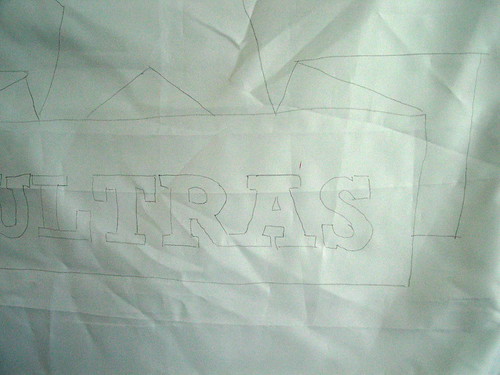
Now to put the design on the flag. You need an overhead projector for this, joedehoop suggested this method to me . Most schools and offices will have one. I used one on the office that connects directly to a sunray, if you need one that uses transparencies just photocopy your design onto a transparency. Now tape your flag onto the wall and draw the outline of your design with a pencil.
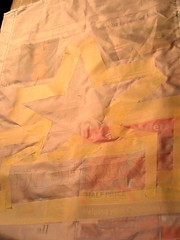
The nest stage is painting. The more colours you use the longer this takes as you need to let one colour dry before starting another. Since this design has lots of straight lines in it I decided to mark these out using masking tape, that way you will get a much better edge. With the masking tape in place and a couple of sheets of newspaper under the flag you can start painting.
Leave to dry overnight and finish the next day. Don’t worry about the newspaper getting stuck to the flag, you can peel that off when its dry.
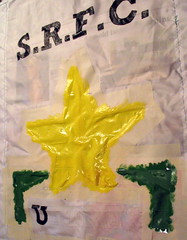
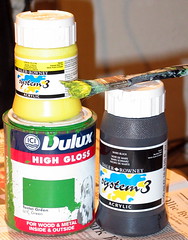
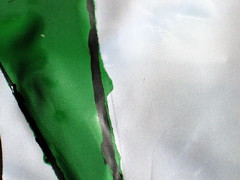
For the green colour I used paint I had lying around. The problem with this paint is that it will spread easily through the fabric. The black and yellow were acrylic paints from an art shop (€16 for 500ml, as advised by the artistic Mr. S-Side-Hoop), this does not spread out and generally stays where you paint it! I’d advise you to just use what you have lying around unless you need to do particular detailed designs – after all these flags are going to be viewed from a distance not up close so you can get away with errors like this.
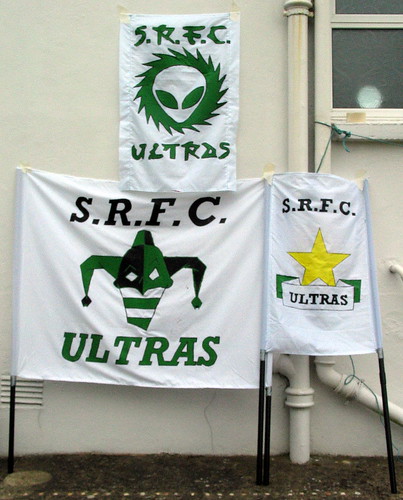
Anyway here is what it looks like with a couple of others I’ve finished recently when finished:
Now go out and make flags! And most importantly go out and support your local team!
Image credit: B. Best, www.shamrockrovers.ie
Forza Hoops!

 Regular edge.
 Flagpole edge.
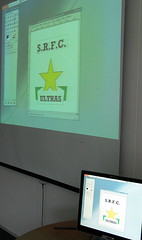

I’ll get your medal back, honest!!